Leather dice bag project
Last year, I took a sewing class and bought a sewing machine. Since then, I’ve taken another sewing class, bought another sewing machine, and done my first solo project: a leather dice bag, to keep my D&D dice in. (I was keeping them in the tube they came in, but it’s harder to get the dice back in than just pouring them into a bag, and it doesn’t look anywhere near as cool.)
This wasn’t the first drawstring bag I’d made; I’d done one previously at the first sewing class (there’s a whirlwind tour of operating a sewing machine and then they drop you straight into making things; it rocks), and I made a couple of prototypes from cheap muslin before I started actually sewing the leather.
This was the first time I’d worked with leather, however, and that was interesting. Leather is grippier than most fabrics, so you actually need to use a different presser foot on your sewing machine—specifically, a roller foot. Fortunately, I’d bought a no-name variety pack of presser feet off Amazon Warehouse Deals awhile back, so I had one ready to go.
This is largely going to be a photo tour; I took photos the whole way through the project. I posted the photos on Flickr and will be embedding them here.
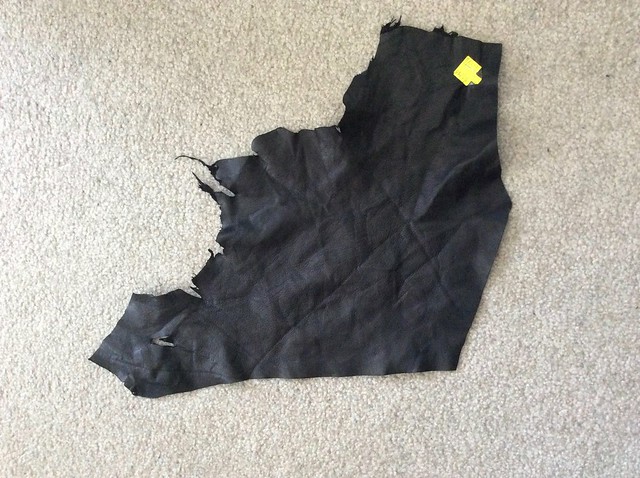
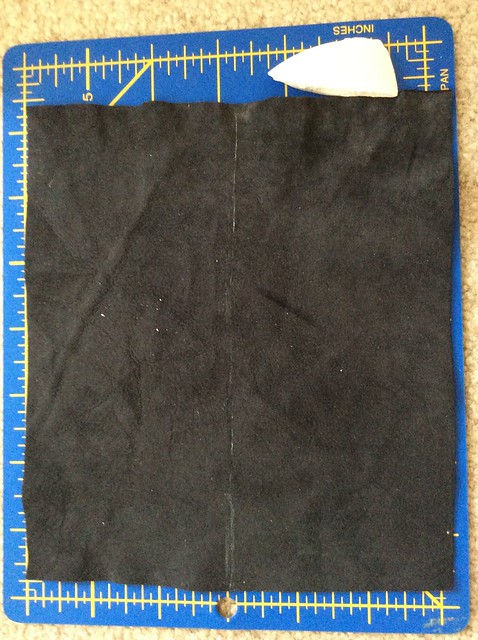
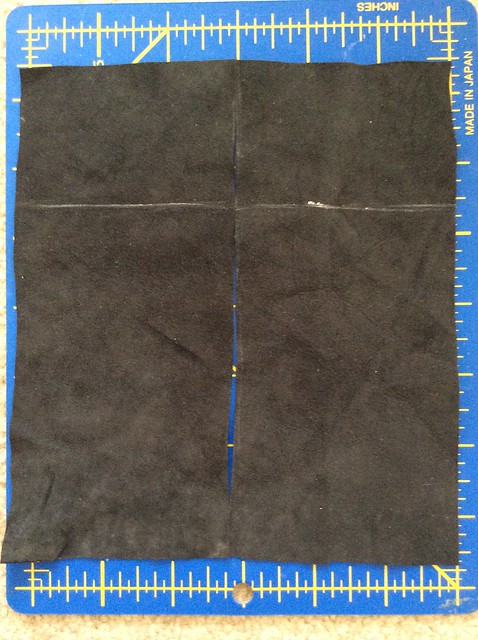
I started with a scrap of leather from Fabric Outlet‘s $2 bin.
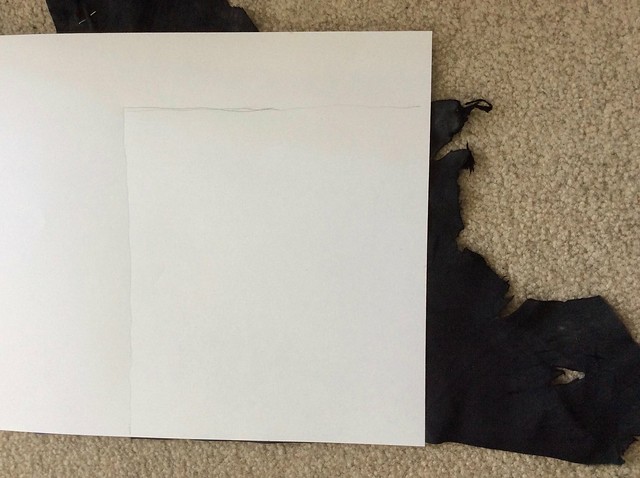
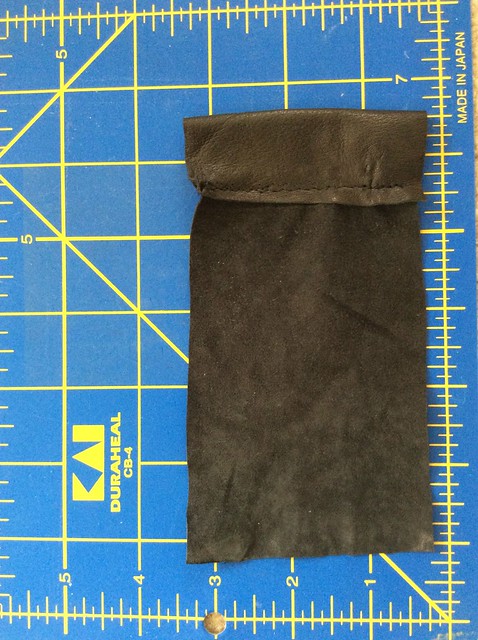
Next I traced out the biggest square of whole leather I could on a piece of paper:
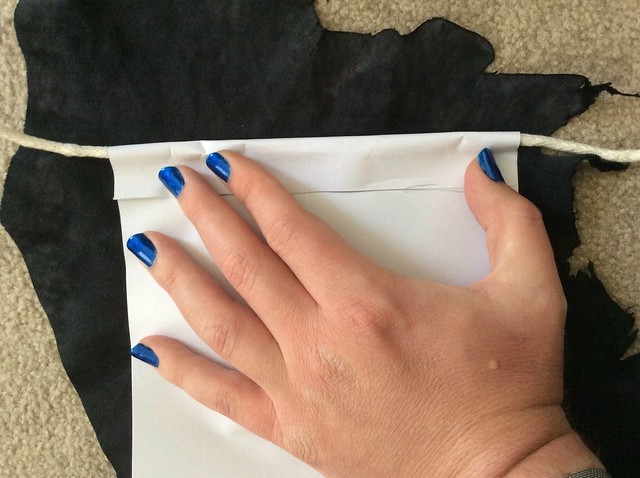
And added a sleeve to run a drawstring of cotton cord through:
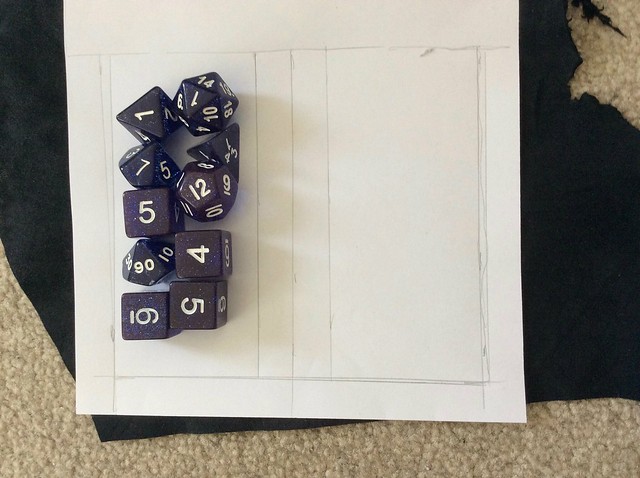
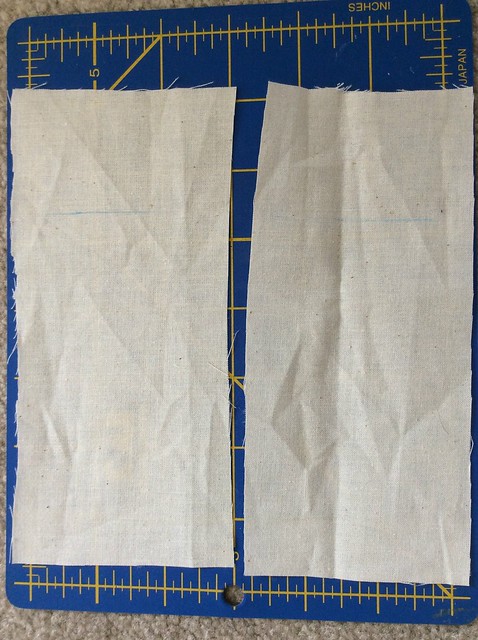
Next I drew a line bisecting that into two rectangular pieces, then added half-inch seam allowances round the three sides of the bag (below the edge of the cord sleeve), and checked whether the dice would fit comfortably in that space:
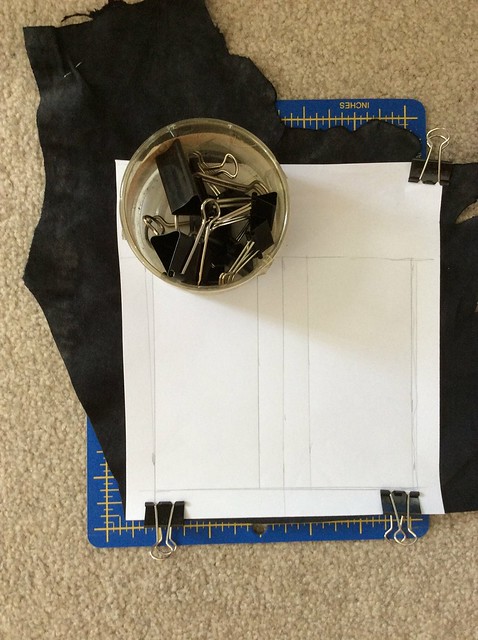
Unlike woven or knit fabrics, for which you typically use pins to fasten the pattern to the fabric, for solid textiles like leather or vinyl, you use clips and/or weights. I used binder clips (for stationery) that I already had on hand:
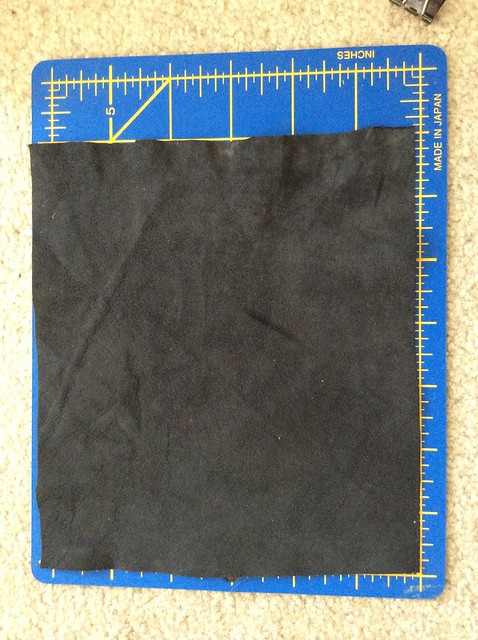
And then cut out the square of leather with my rotary cutter:
The square of leather needs to become two rectangles, so I marked that line with tailor’s chalk (also from Fabric Outlet) and then ran the rotary cutter down it:
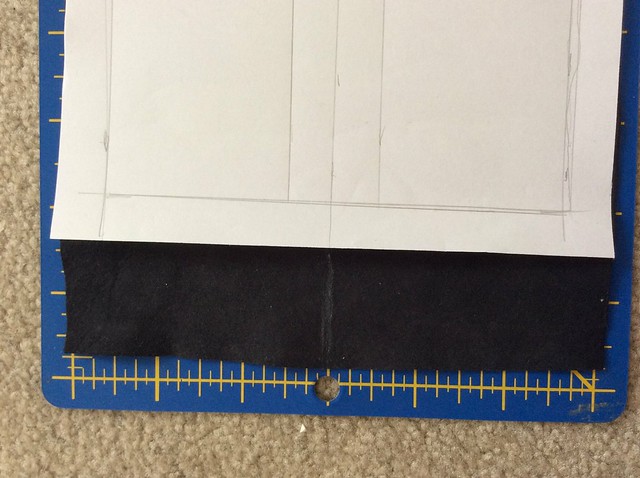
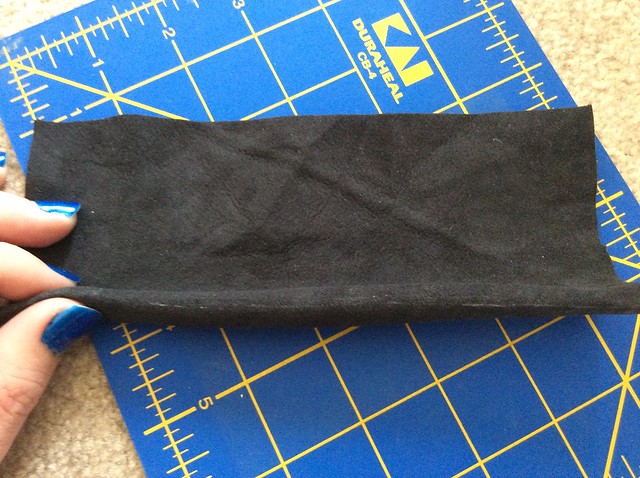
Measure twice, cut once: After marking the bisection line, I folded the square over and squared up the edges to check that the line was in the right spot. It was!
Checking that that’s enough material for each cord sleeve:
At this point I took a break to make a prototype from cheap muslin before committing any further. (Arguably I should have done this step before ever cutting into the leather.)
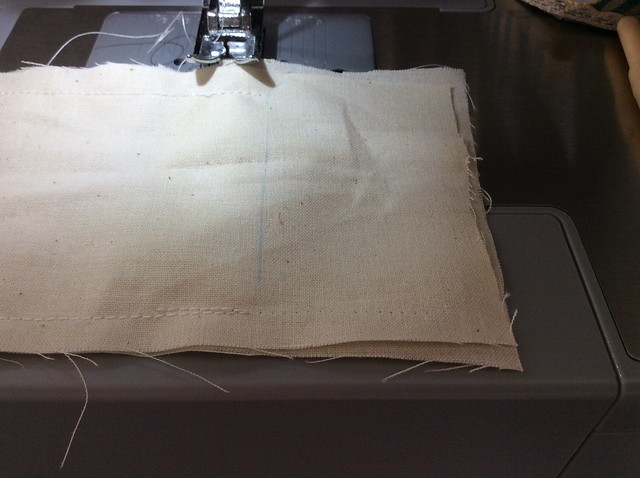
This did prove important. My initial plan was to sew the pieces together first, then sew down the cord sleeves. Doing this with the muslin, I both sewed too far up one edge (you can see the holes left behind after I ripped that much seam out):
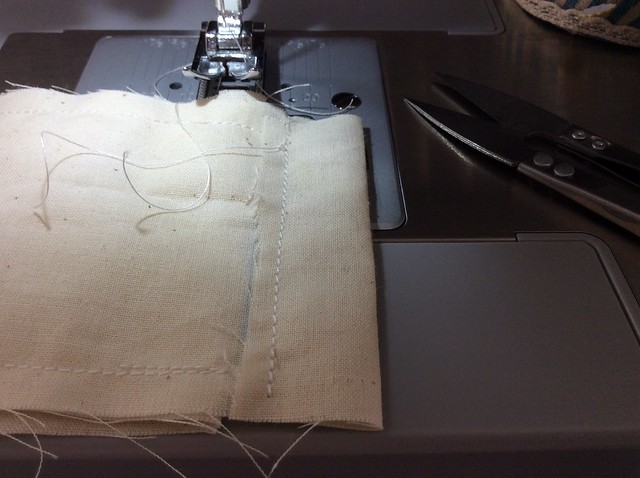
And also discovered how tricky it’d be to sew each sleeve with the other one just on the other side of the bag:
But I was ultimately successful. Experience gained; one prototype bag produced.
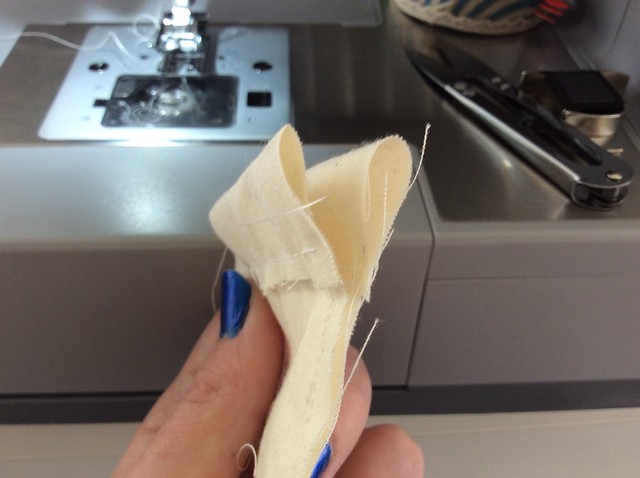
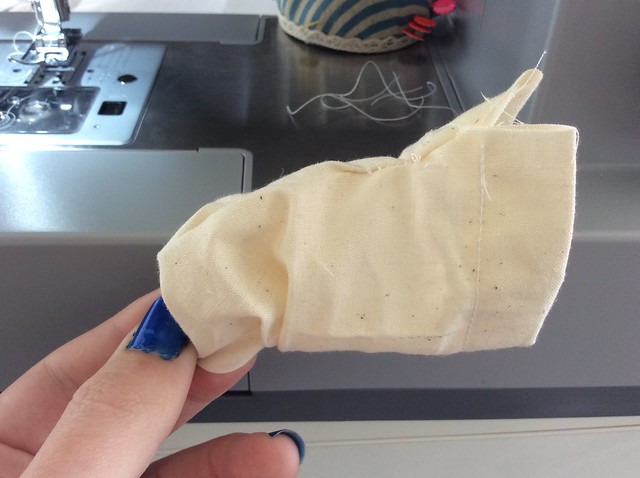
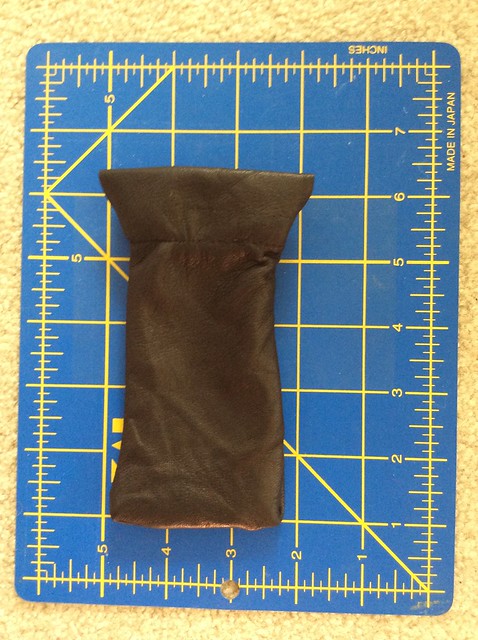
The bag is initially inside-out, so the last step (before putting in the cord) is to pull the bottom out through the top.
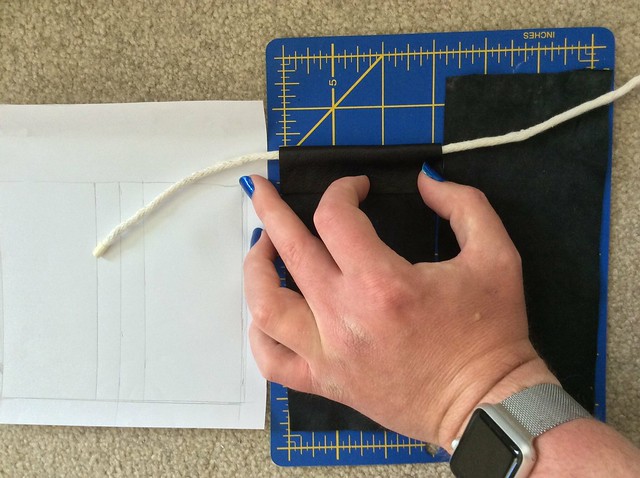
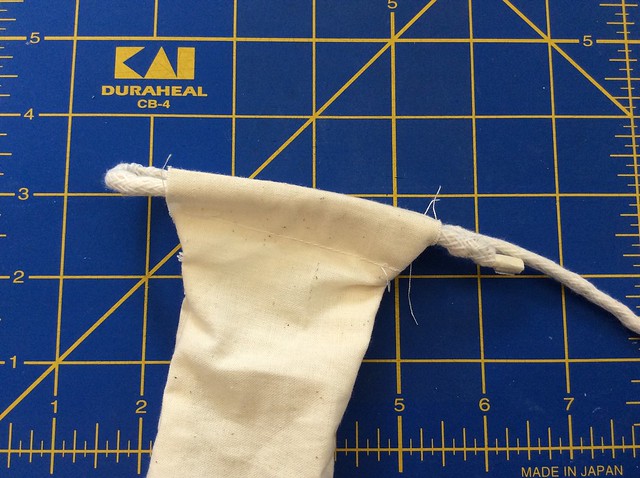
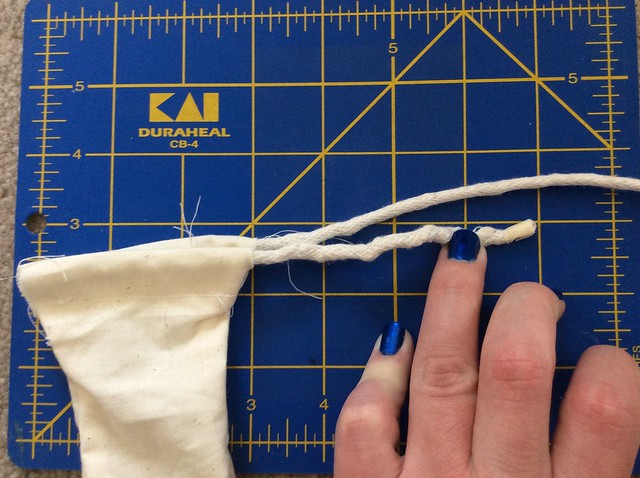
Next is putting in the cord and checking how much length I’ll need for an Ashley’s stopper knot at each end:
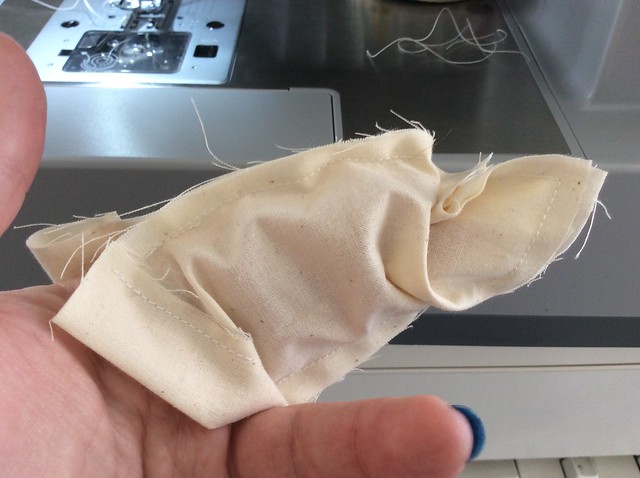
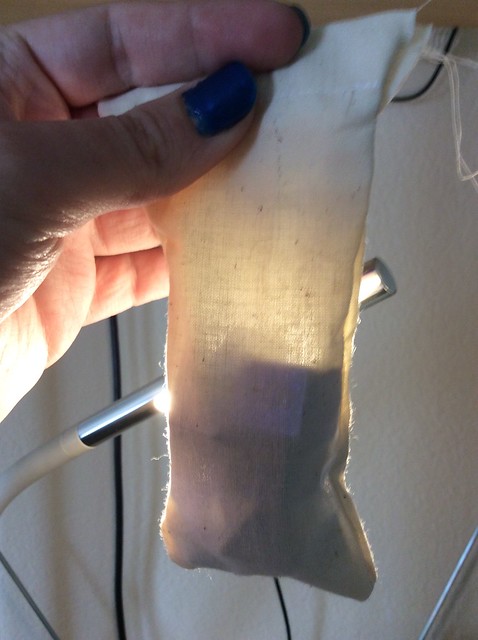
Final check of capacity (I did this earlier against the paper pattern, but three-dimensional objects can be tricky about this sort of thing). Shining a bright light through the muslin confirms that there’s plenty of space after putting my dice into it.
OK, now back to the leather. I marked where the edges of the cord sleeves will need to fold down to.
At this point I’m about to start actually sewing the leather on my sewing machine, so I need to change out some things:
- The needle: From a 90/14 sharp to a 90/14 leather needle.
- The thread: From white cotton thread to black polyester thread.
- The foot: From the stock normal presser foot to a roller foot.

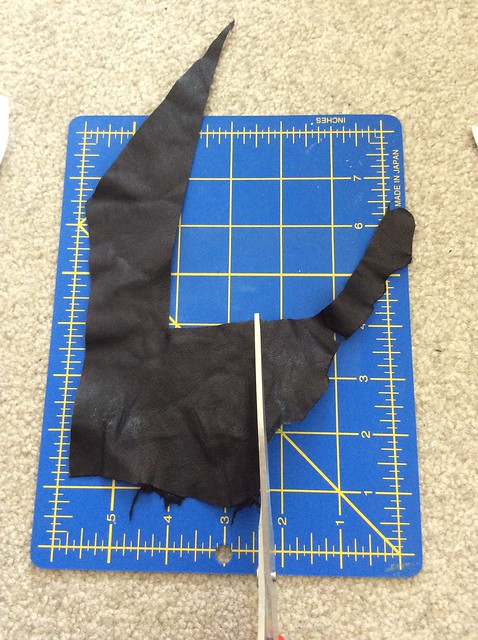
I’ve never sewn leather before, so I wanted to fool around for a bit and get a feel for it before I started sewing the real piece, so I used my scissors to cut off a scrap from what was left of the larger scrap:
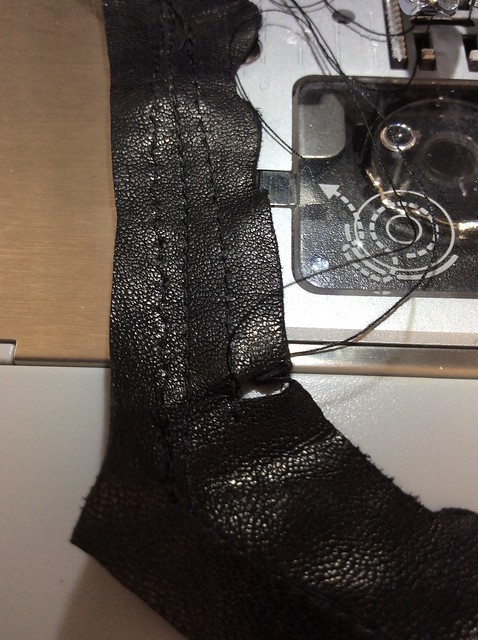
The middle and right stitches are straight stitches of different lengths (I think 2 and 3, respectively). The left one is a zigzag stitch with width 1 and length 3, which I think gives it kind of a faux hand-sewn look. Perfect for a bag that I’ll be bringing to dice-rolling role-playing games.
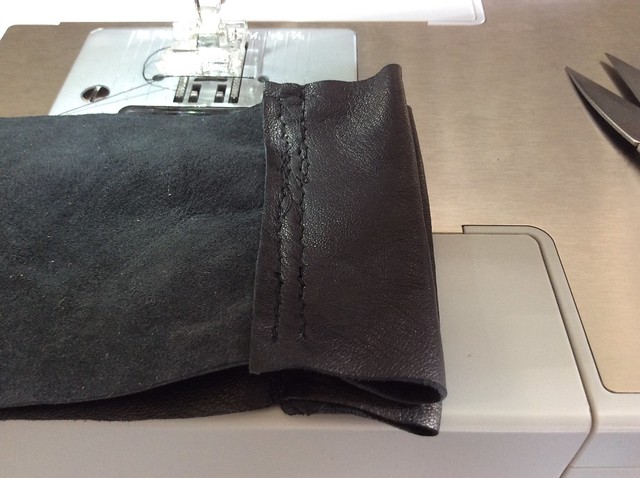
OK, now to sew the real article, this time doing the cord sleeves first. Note the binder clip at each end and the roller foot on the machine:
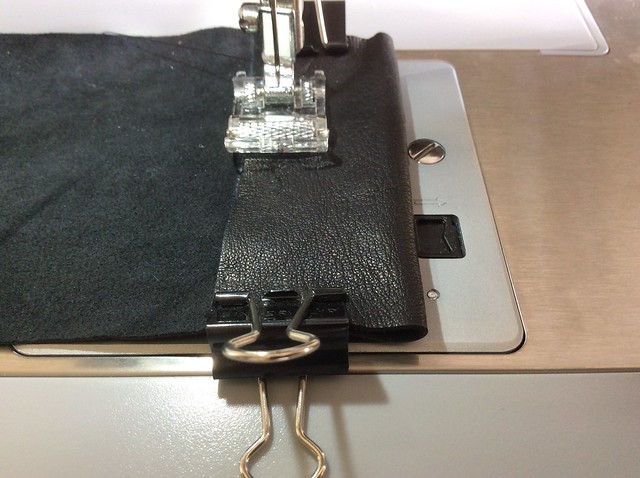
On one piece, I ended up messing up the first seam enough that I decided to put in a second seam to brace it. Good thing I had enough clearance!
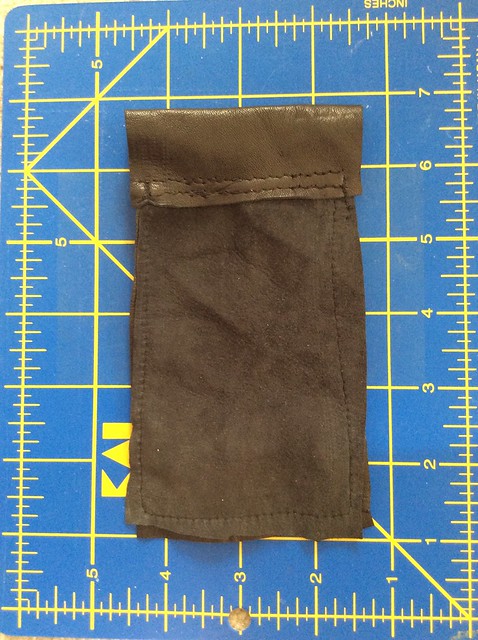
After sewing the other three sides, I now have an inside-out leather dice bag:
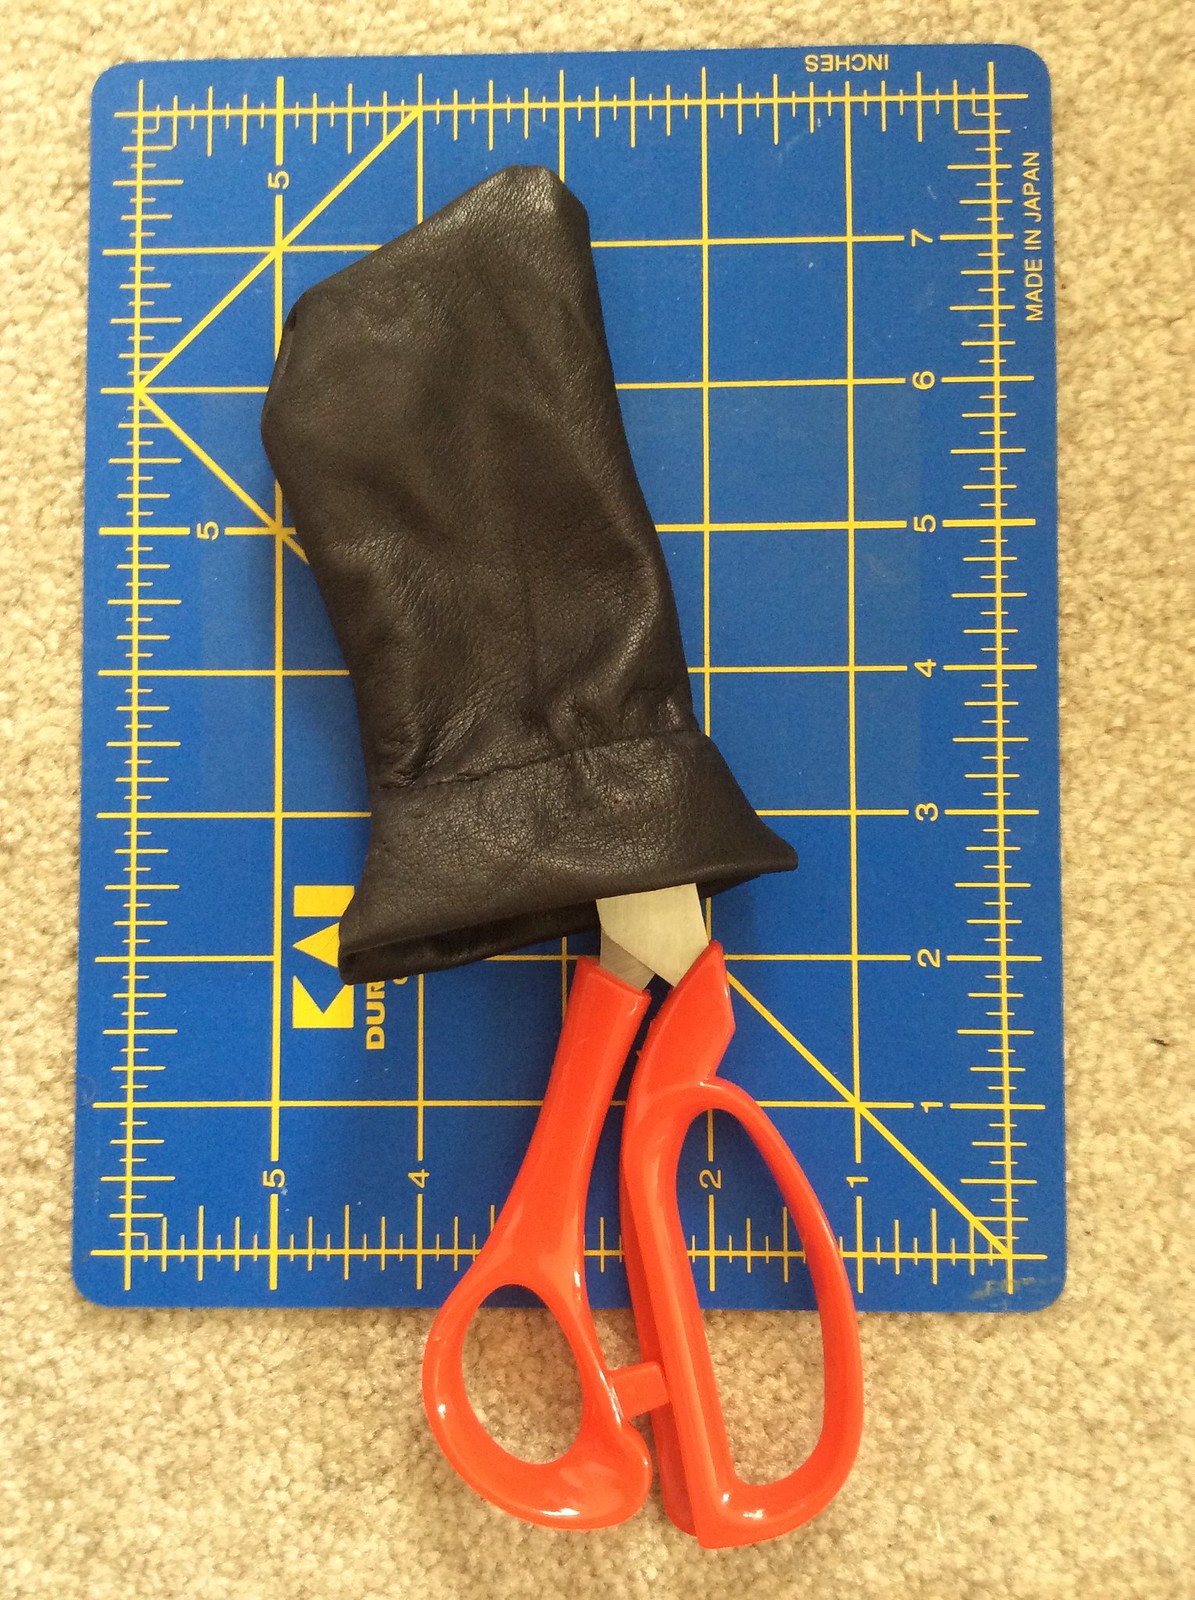
Protip: Use the (blunt) tip of your scissors to push out the edges and corners of the bag.
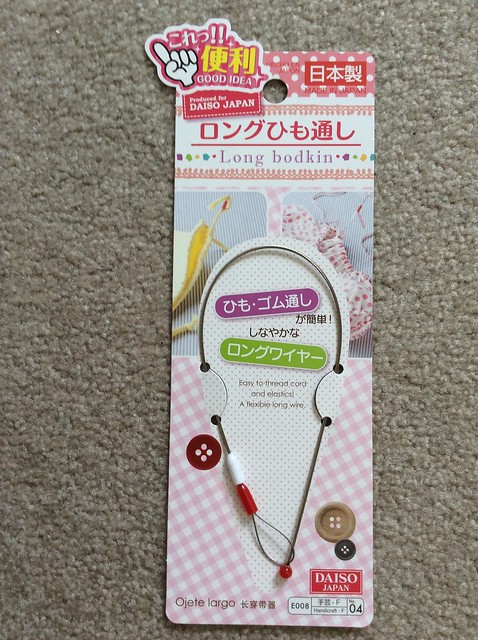
I toughed it out and did it manually when I was doing this on the muslin, but for the real bag, I decided to use the tool that exists for the purpose of loading cords into sleeves and similar tasks, which is called a bodkin:
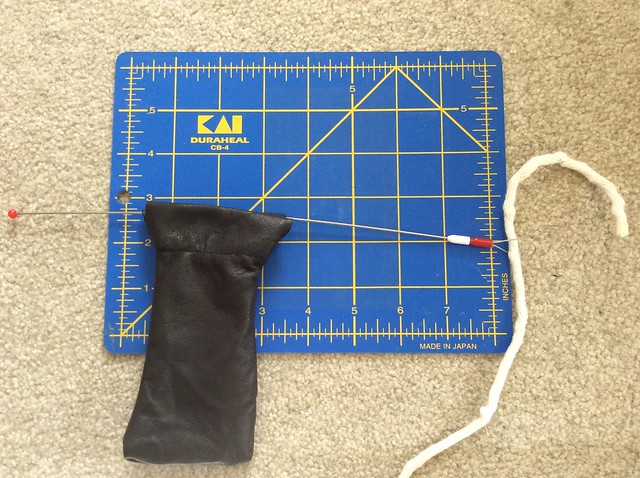
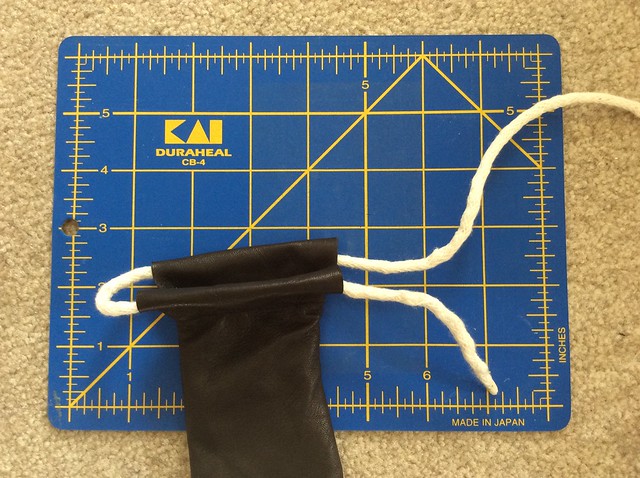
Here I’ve got the bodkin stuck all the way through one of the cord sleeves, and the cord through the loop on the bodkin. I’ll cinch the loop shut on the cord, then pull the bodkin through the one sleeve, then run it the other way through the other one.
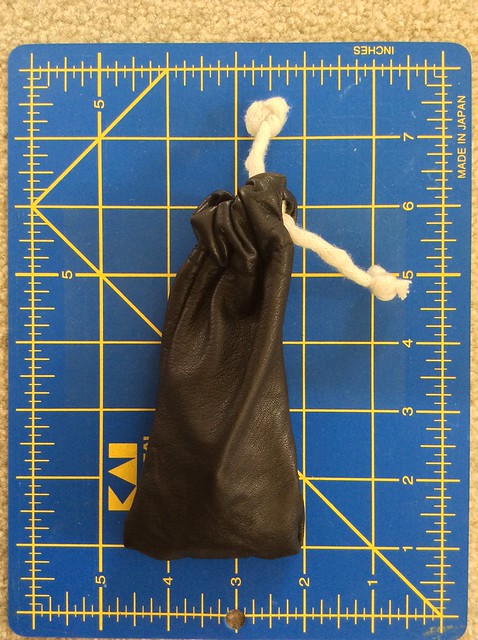
After cutting the cord to length and tying the stopper knots, the bag is complete:
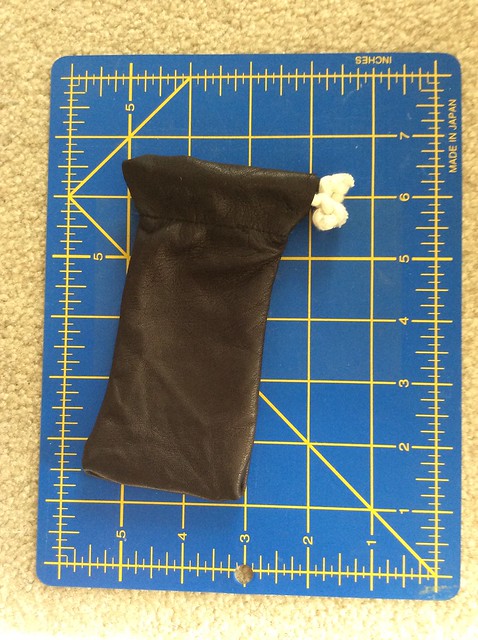
All that remains is to put dice in it:
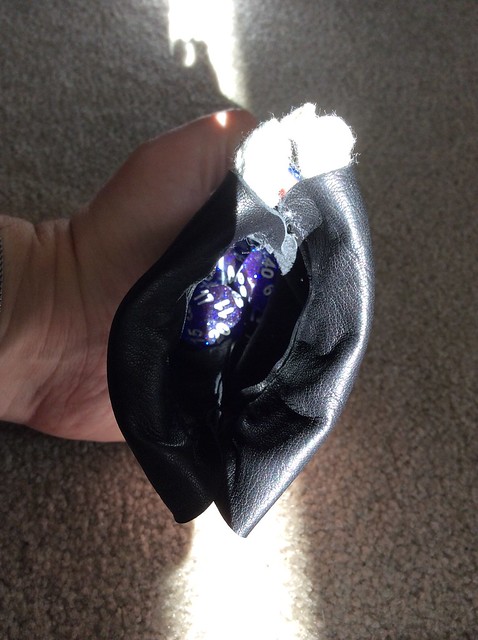
And cinch it shut: