Making of
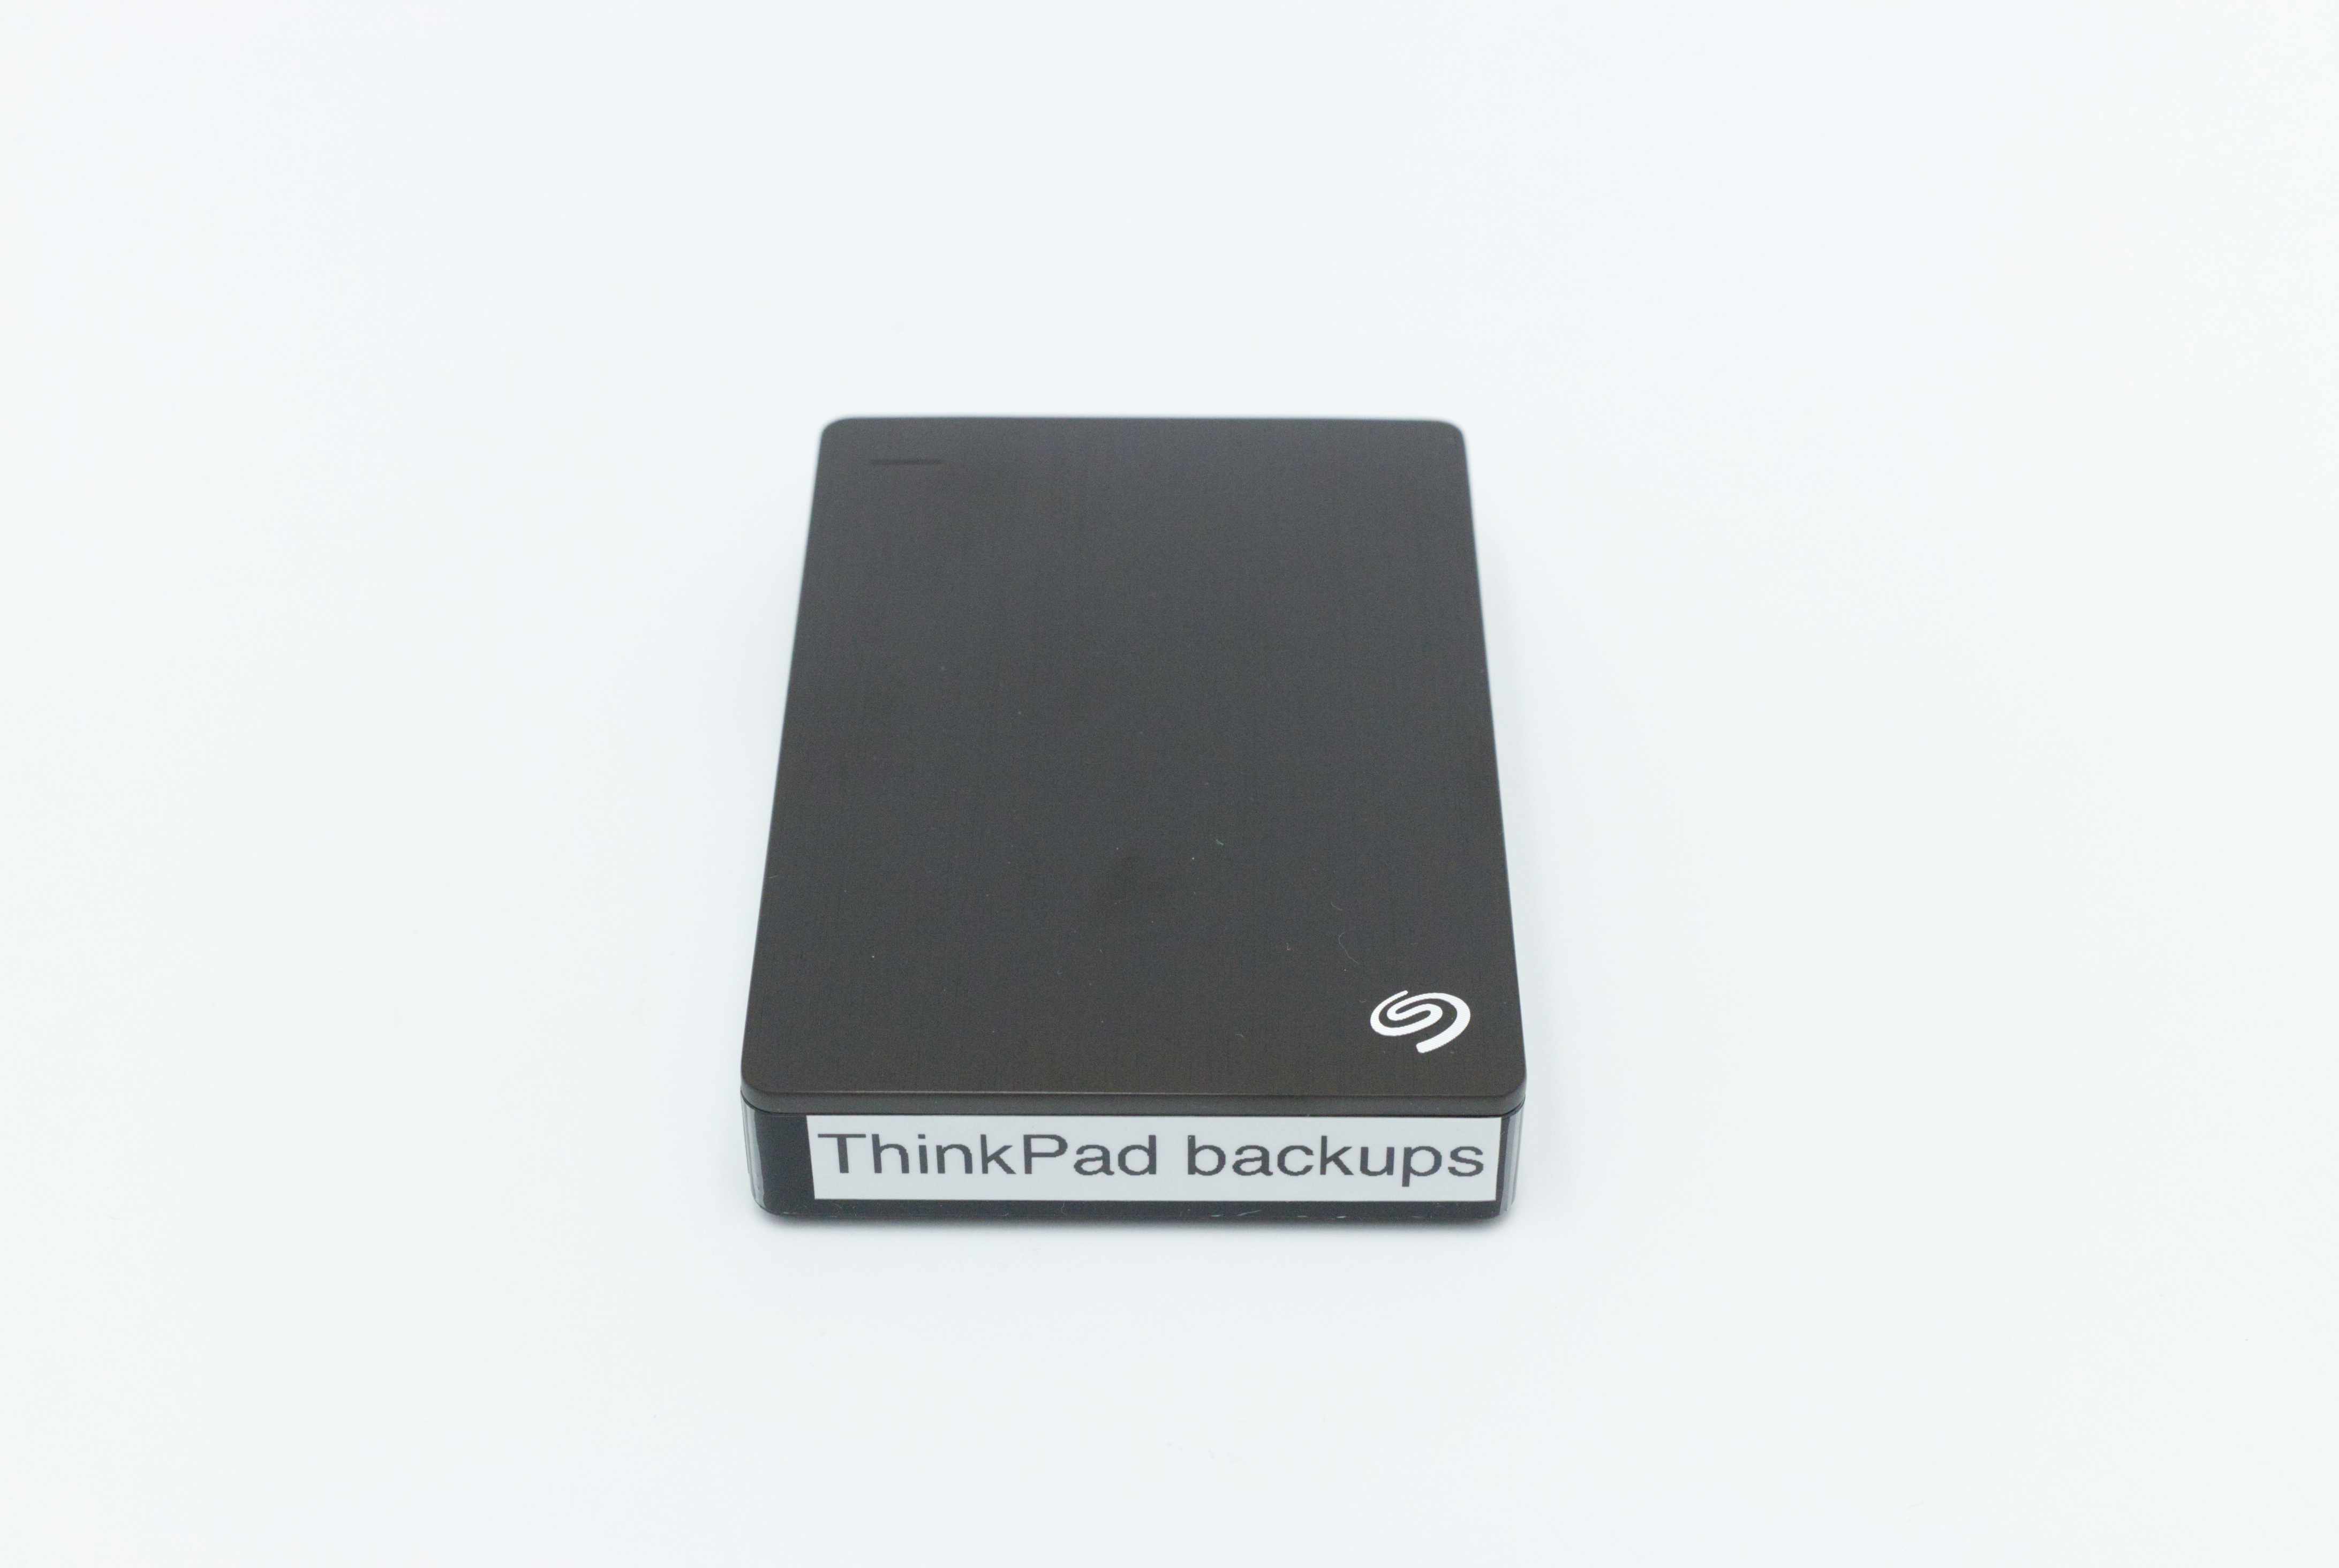
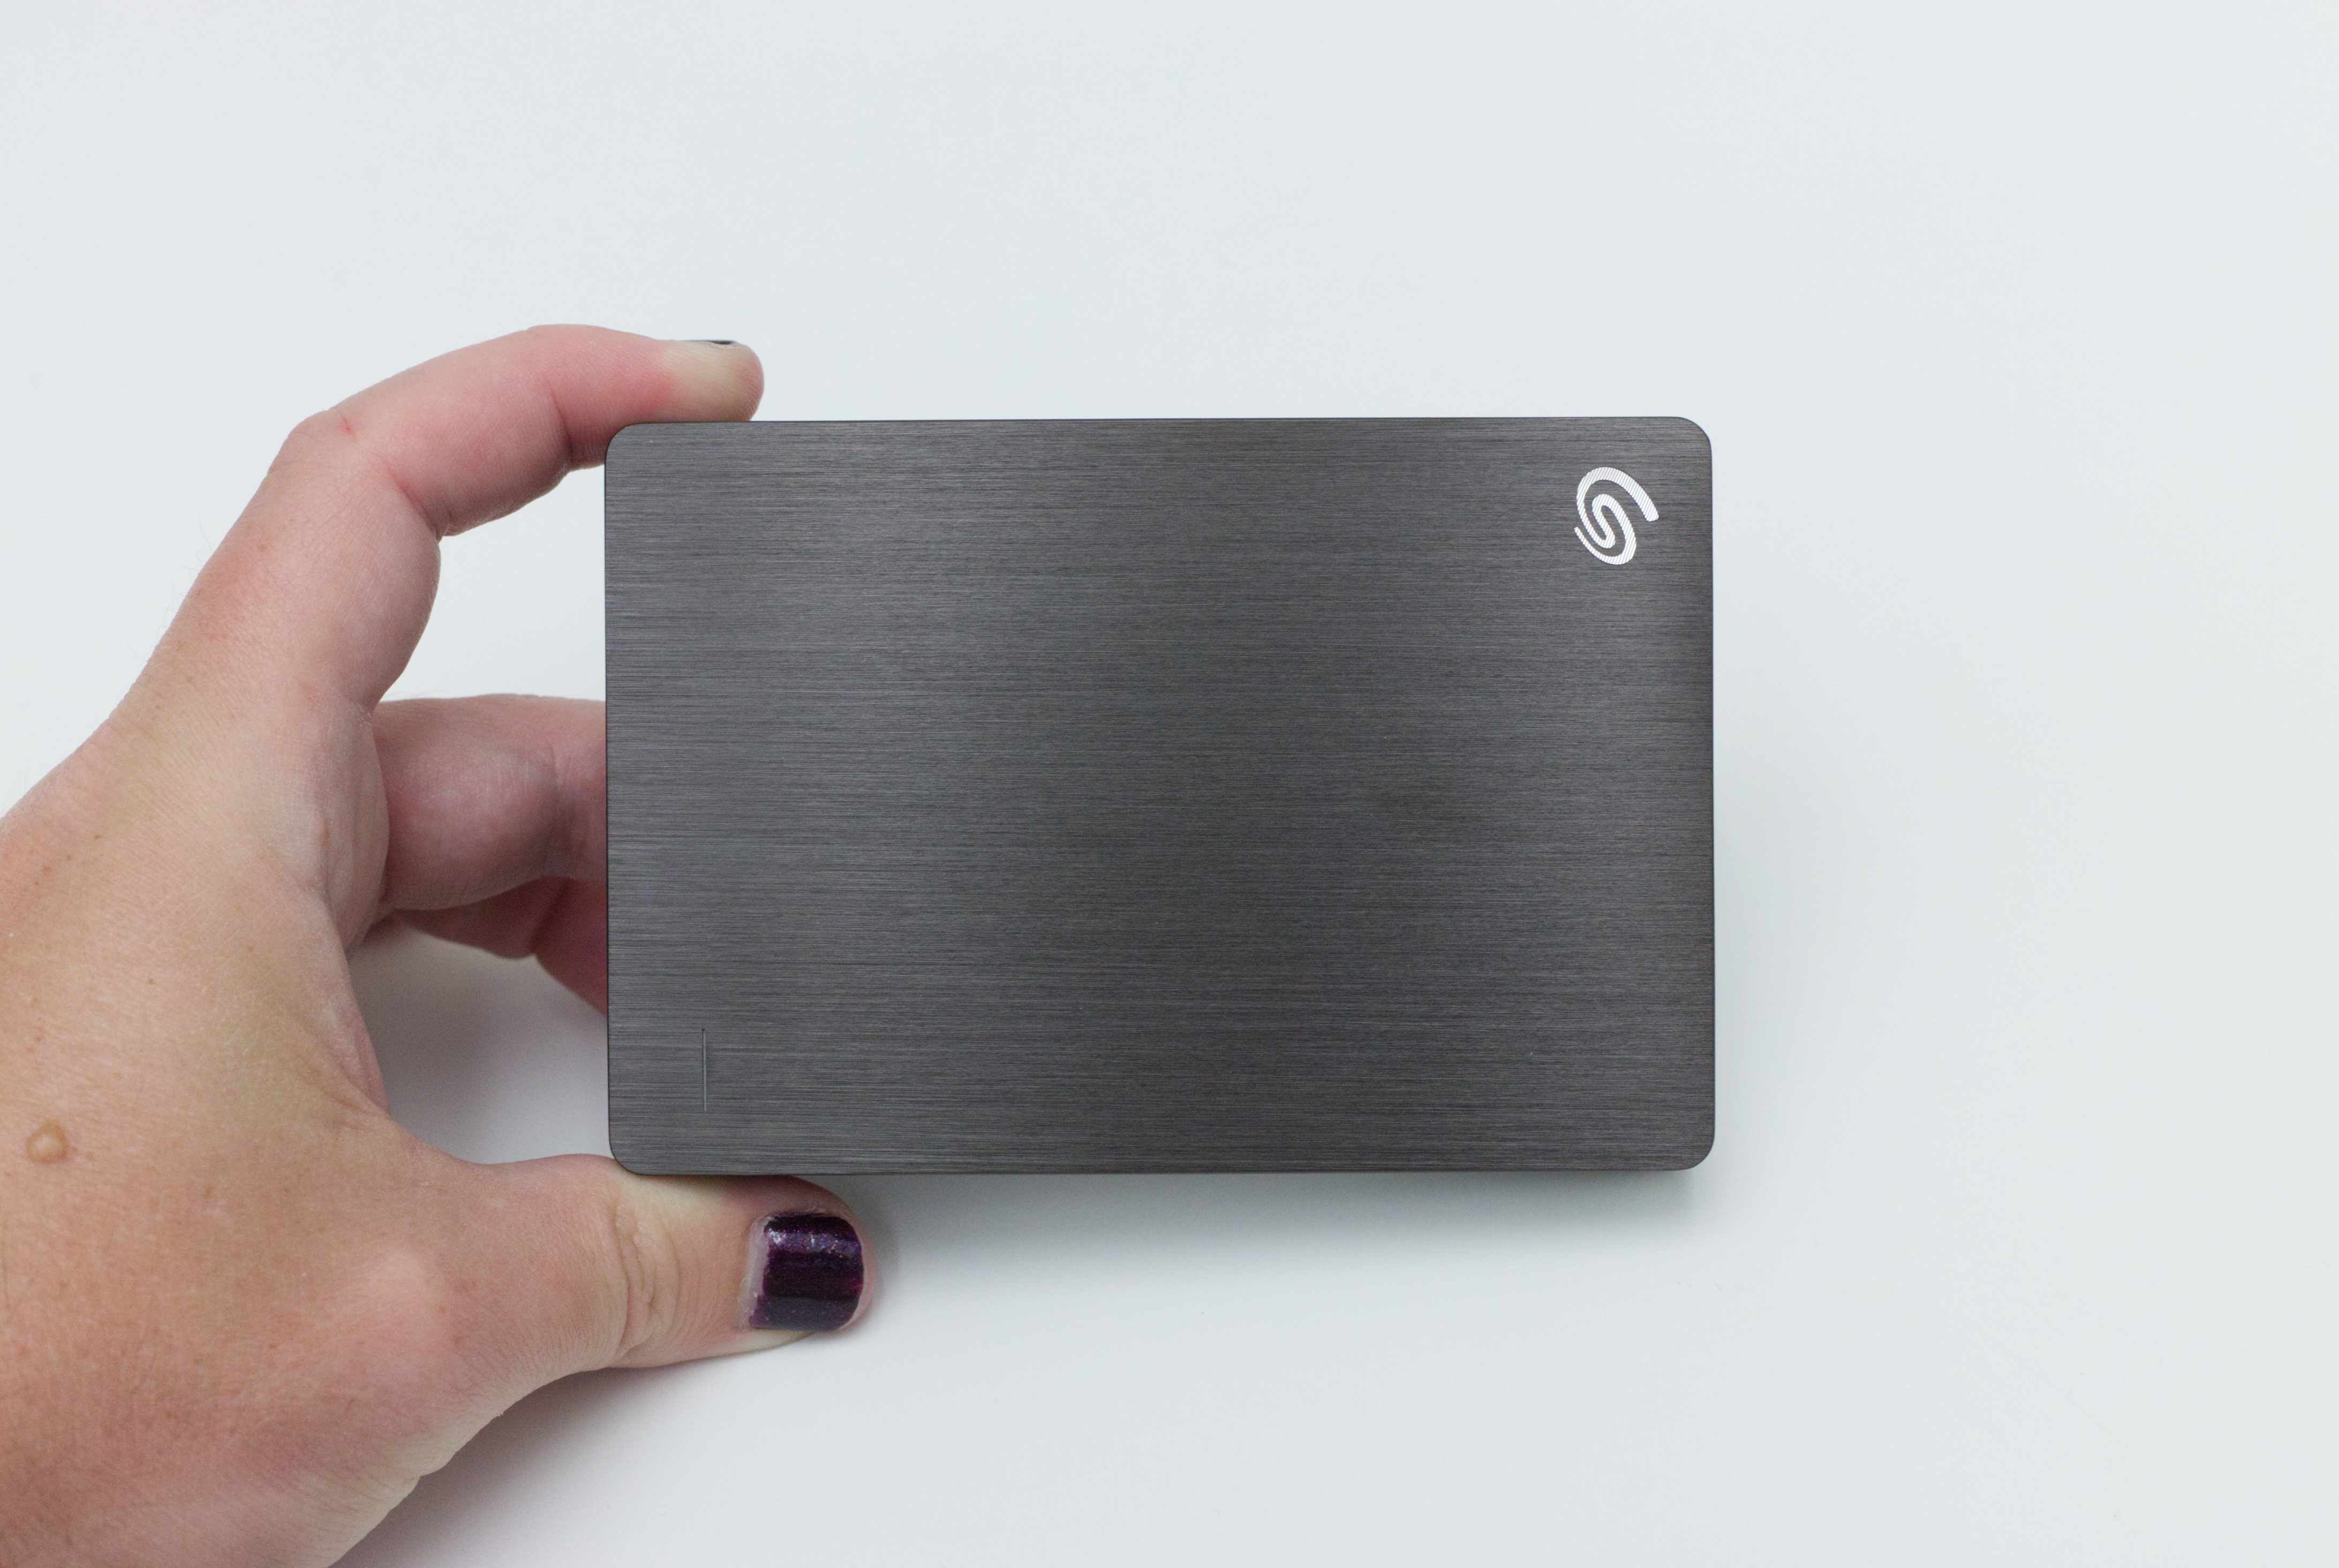
I made this icon by photographing a real Seagate external hard drive that wasn't connected at that moment using a Canon DSLR, then loading the photos into Affinity Photo and assembling a composite.
Here are the two photos (not at full resolution):


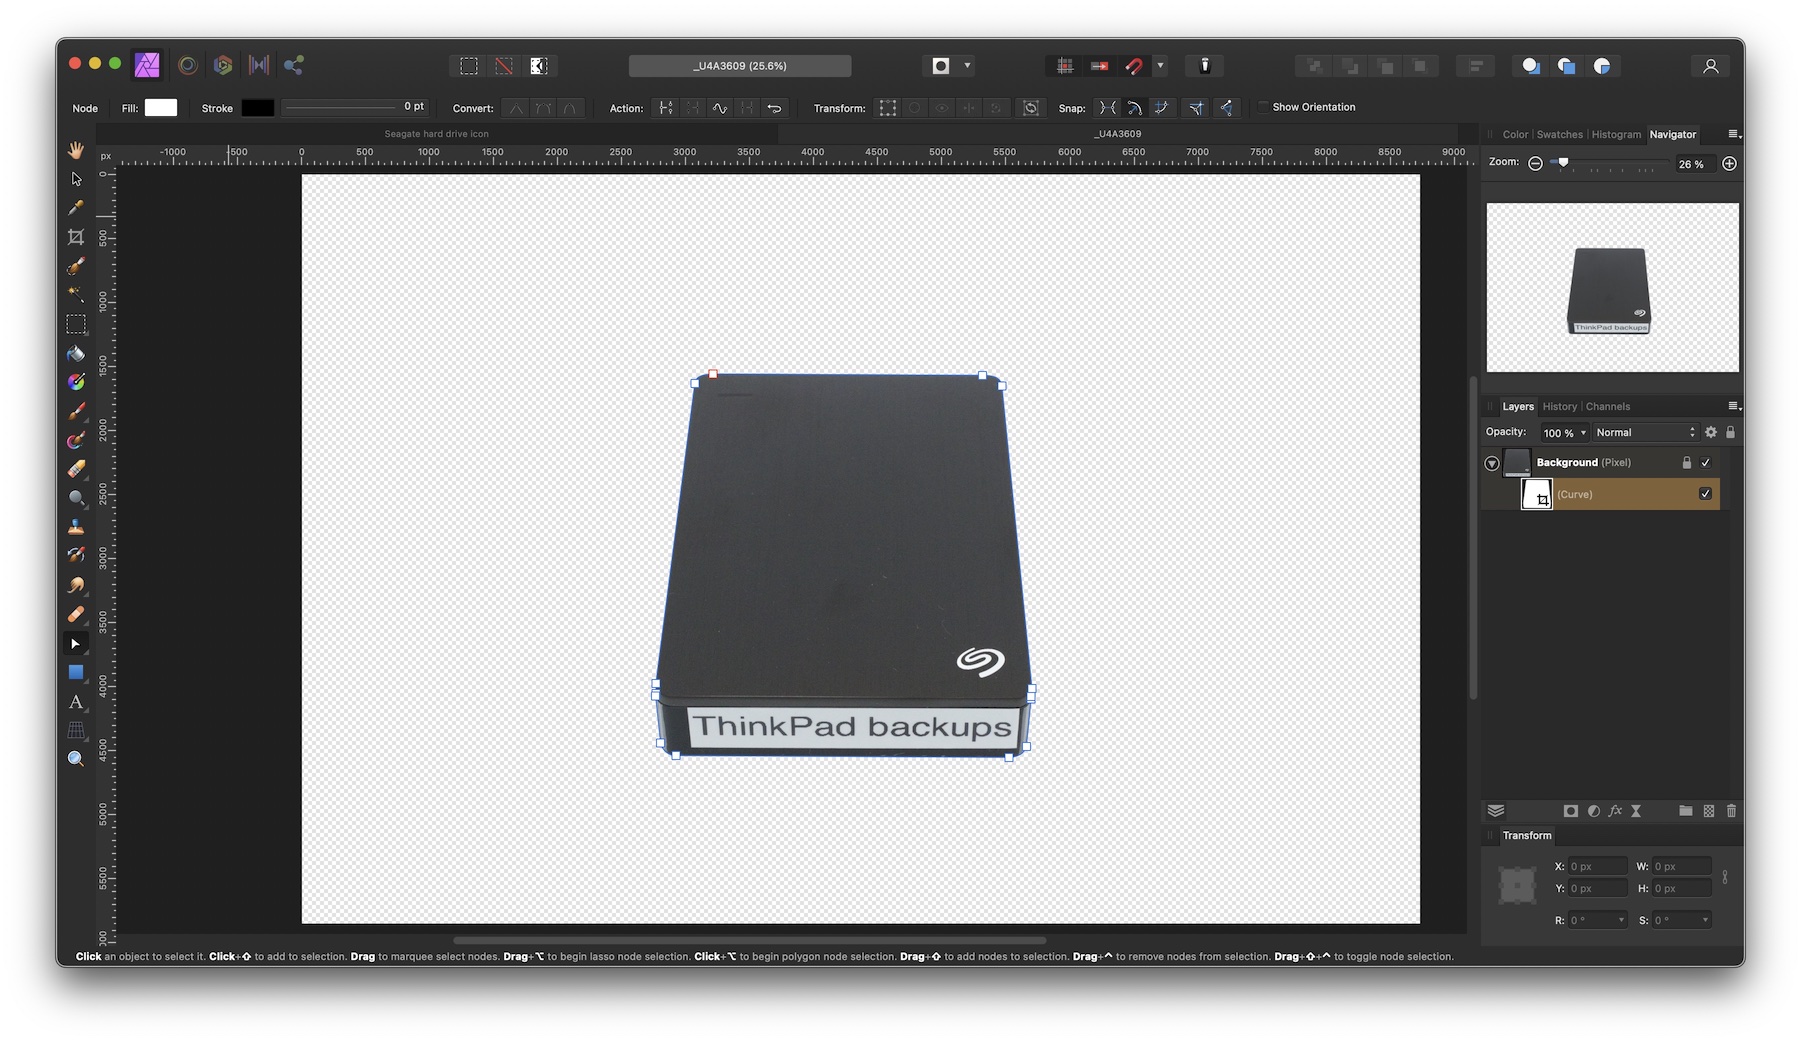
I manually constructed a Bézier path around the drive in each image to mask out the background.
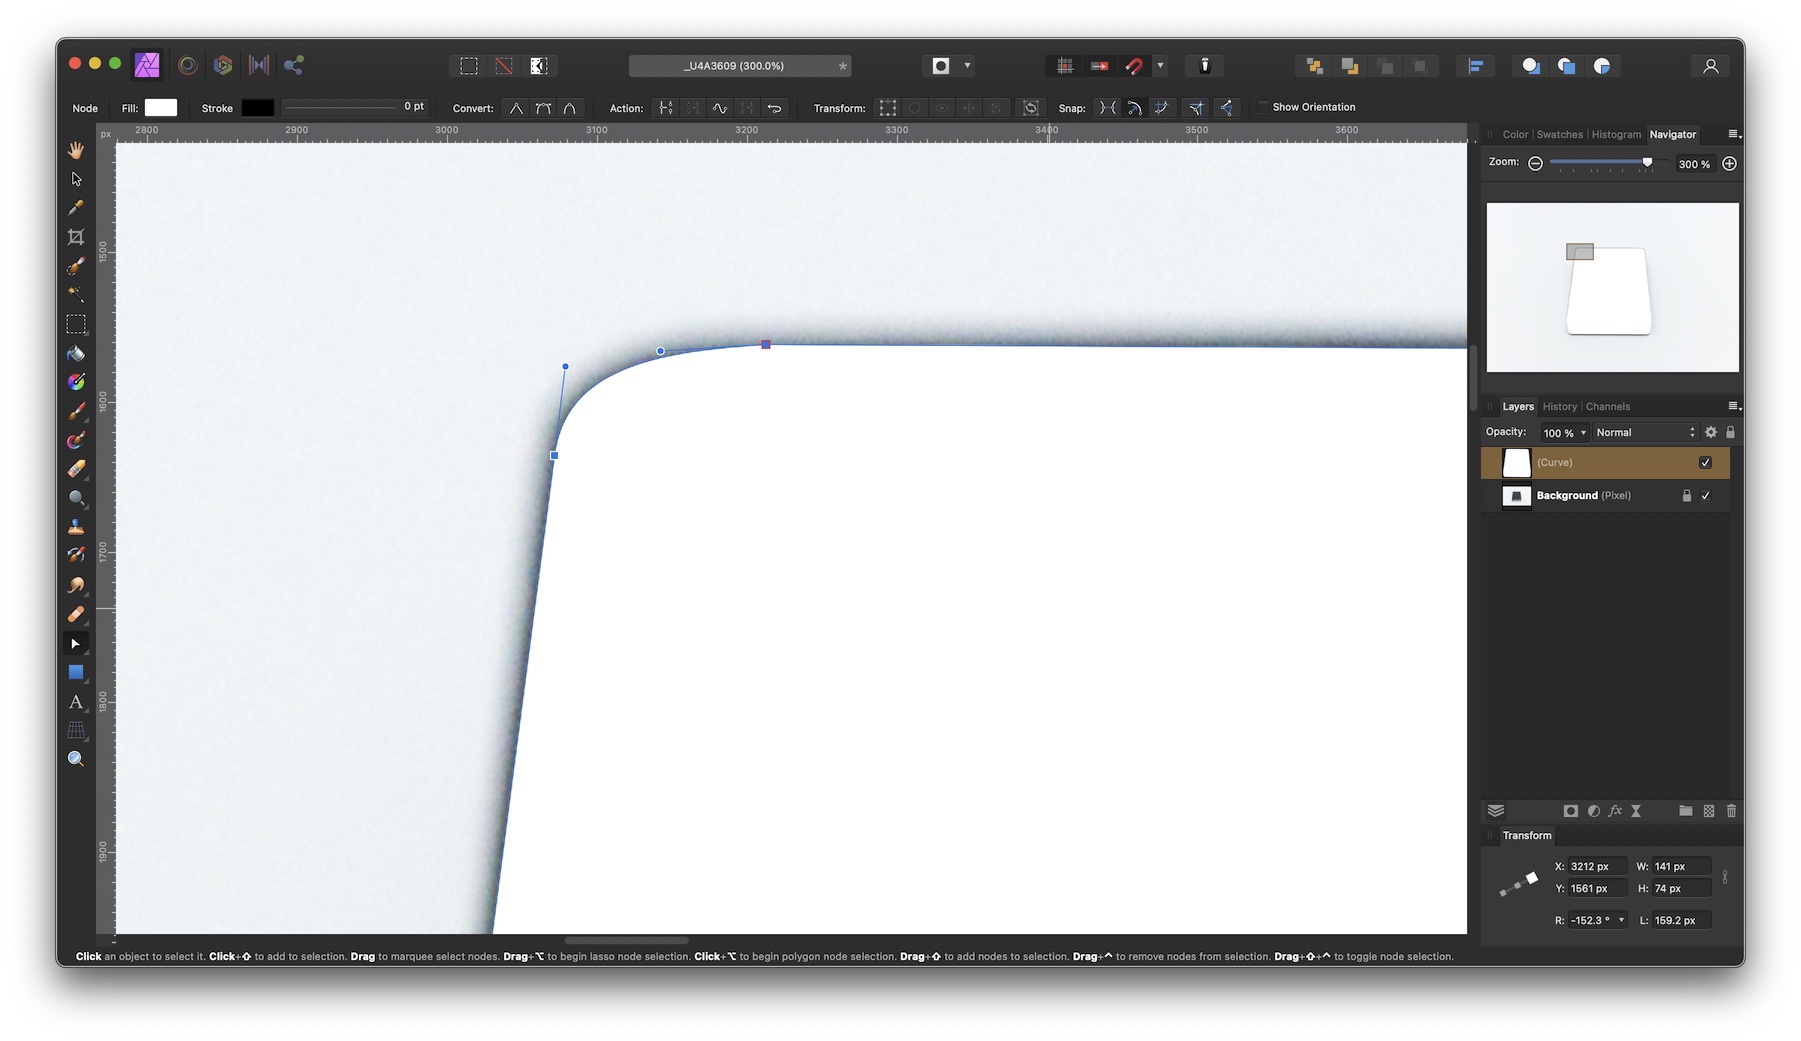
I started by drawing straight lines only, loosely following the straight edges of the subject and then jumping across and within the rounded corners. Then, zooming in, I adjusted the anchor points to be more precisely located at the start and end of each straightaway of the subject—at each point where a straightaway ends and a curve begins. Lastly, I used the pen tool to pull the corner-cutting vertexes out to curves fitting the curves of the drive corners in the image, and the node tool for final tweaks to the control points.


With both photos so masked out, it was time to assemble them.
In a new document set to 512 by 512 points at 144 dpi (which I verified contained 1024 by 1024 pixels), I first pasted in the macOS external-storage icon for reference. (It turned out I nailed its viewing angle pretty much exactly the first time!)
Then I added the front-view photo, and adjusted its sizing to match the standard macOS icon. The front-view photo only contributes the drive's edge in the final composite, so I didn't worry too much about making it perfectly straight.
The top-view photo provides the top face of the drive in the composite. I rotated it into the proper orientation, scaled it up to the correct width (of the far edge of the drive in the front view) and down to the correct height (of the top face of the drive in the front view), then used a Perspective live filter to turn it from a straight-down top view into the top face of a foreshortened three-dimensional object.
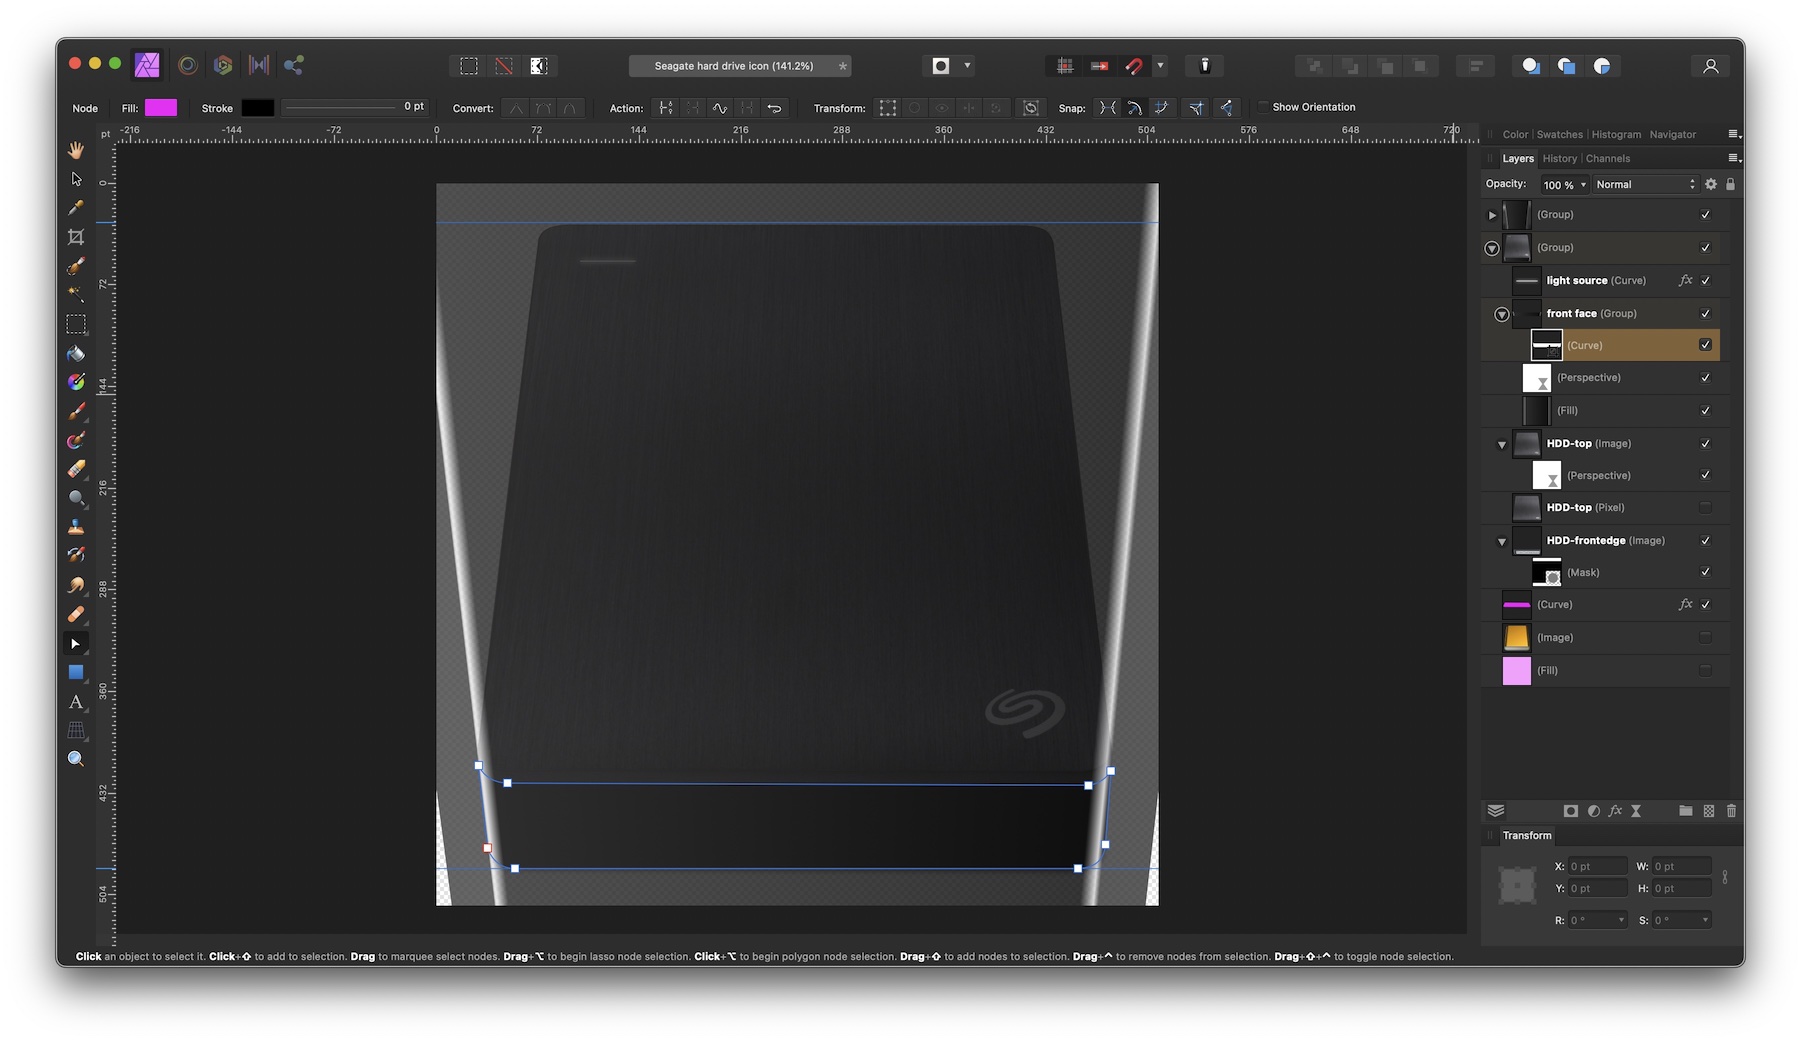
The front face of the drive is entirely vector illustration. I traced the front face in the front view with the Pen tool (which, yes, does mean I plotted the bottom of the drive twice) and filled it with a garish magenta color. Then I created a Fill layer and set it to a linear gradient, consisting of mostly dark grays (not quite black) with a couple of very light gray (not quite white) highlights at the drive's corners, imitating the highlight pattern in the front-view photo. I placed the gradient from the left corner of the front face to the right corner. Another Perspective live filter distorts the straight perpendicular bars of light and dark to match the perspective in the photo, and the magenta path masks it to the shape of the front face only.

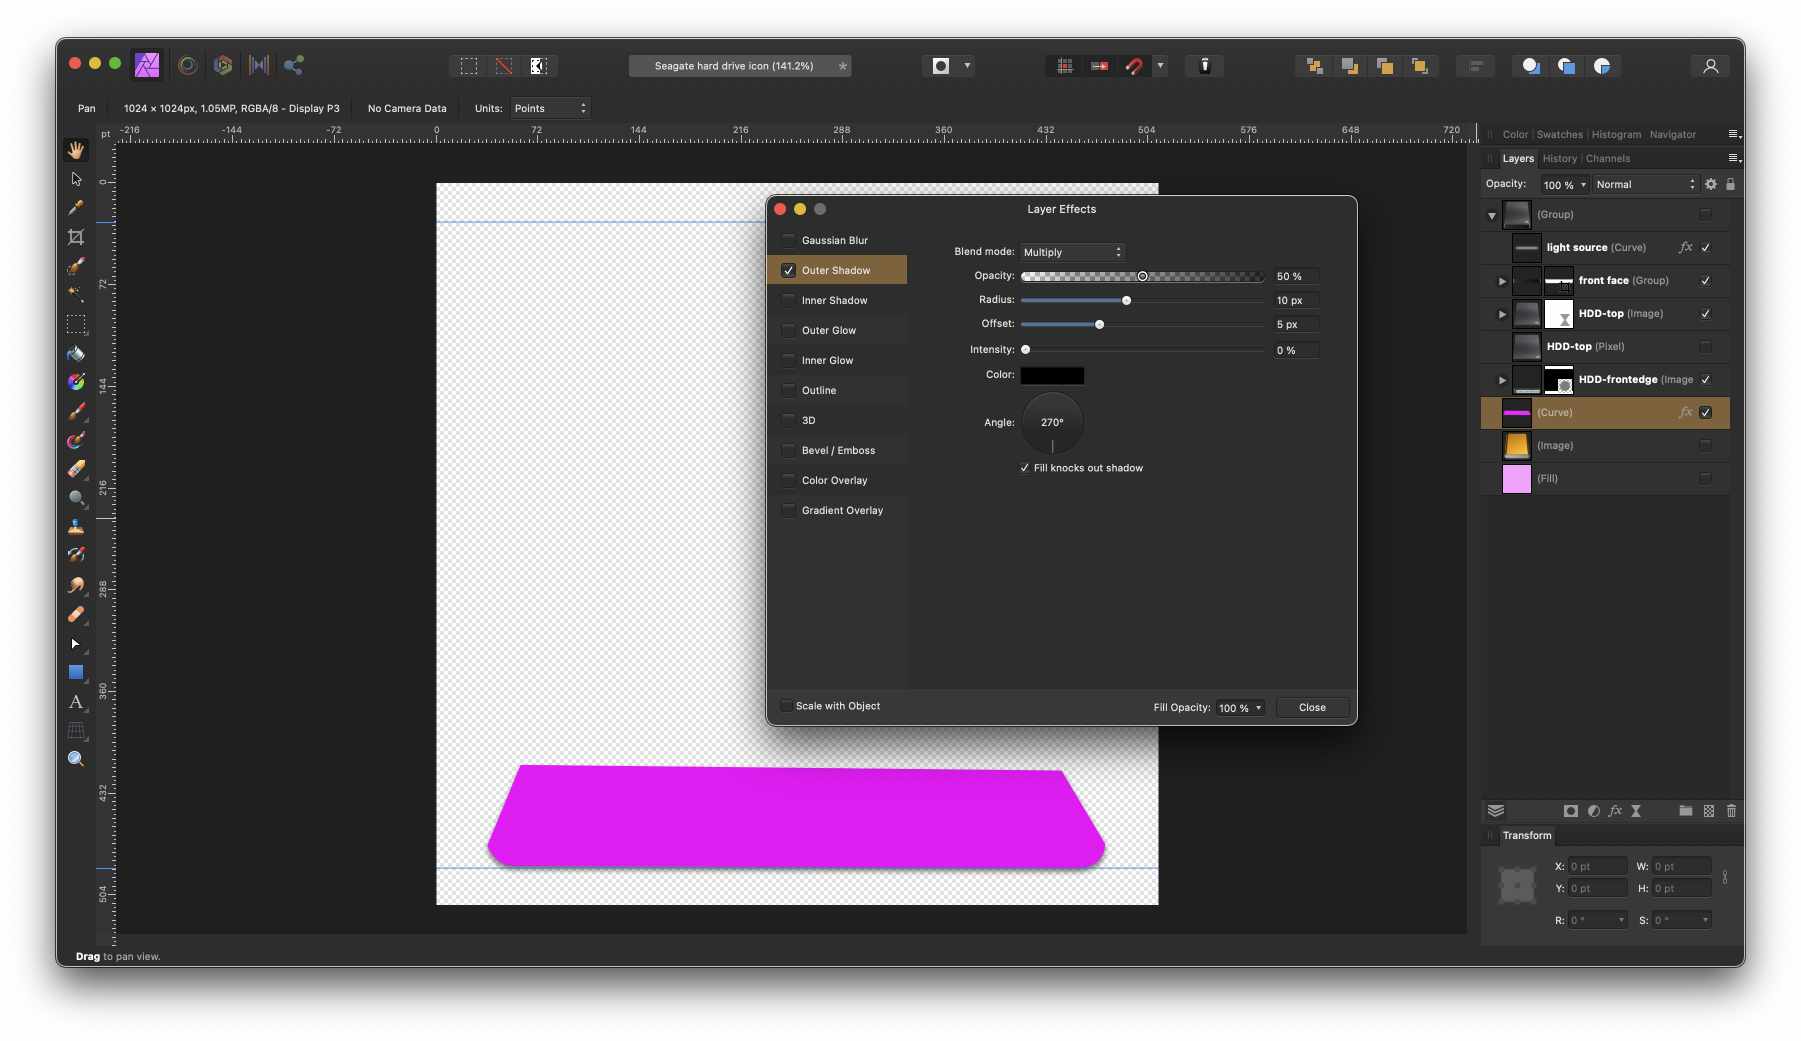
I duplicated the front-face path, then pulled in its top corners so they'd be out of sight, to make the shadow. It's one of the lowest visible layers and has an Outer Shadow effect applied to it.

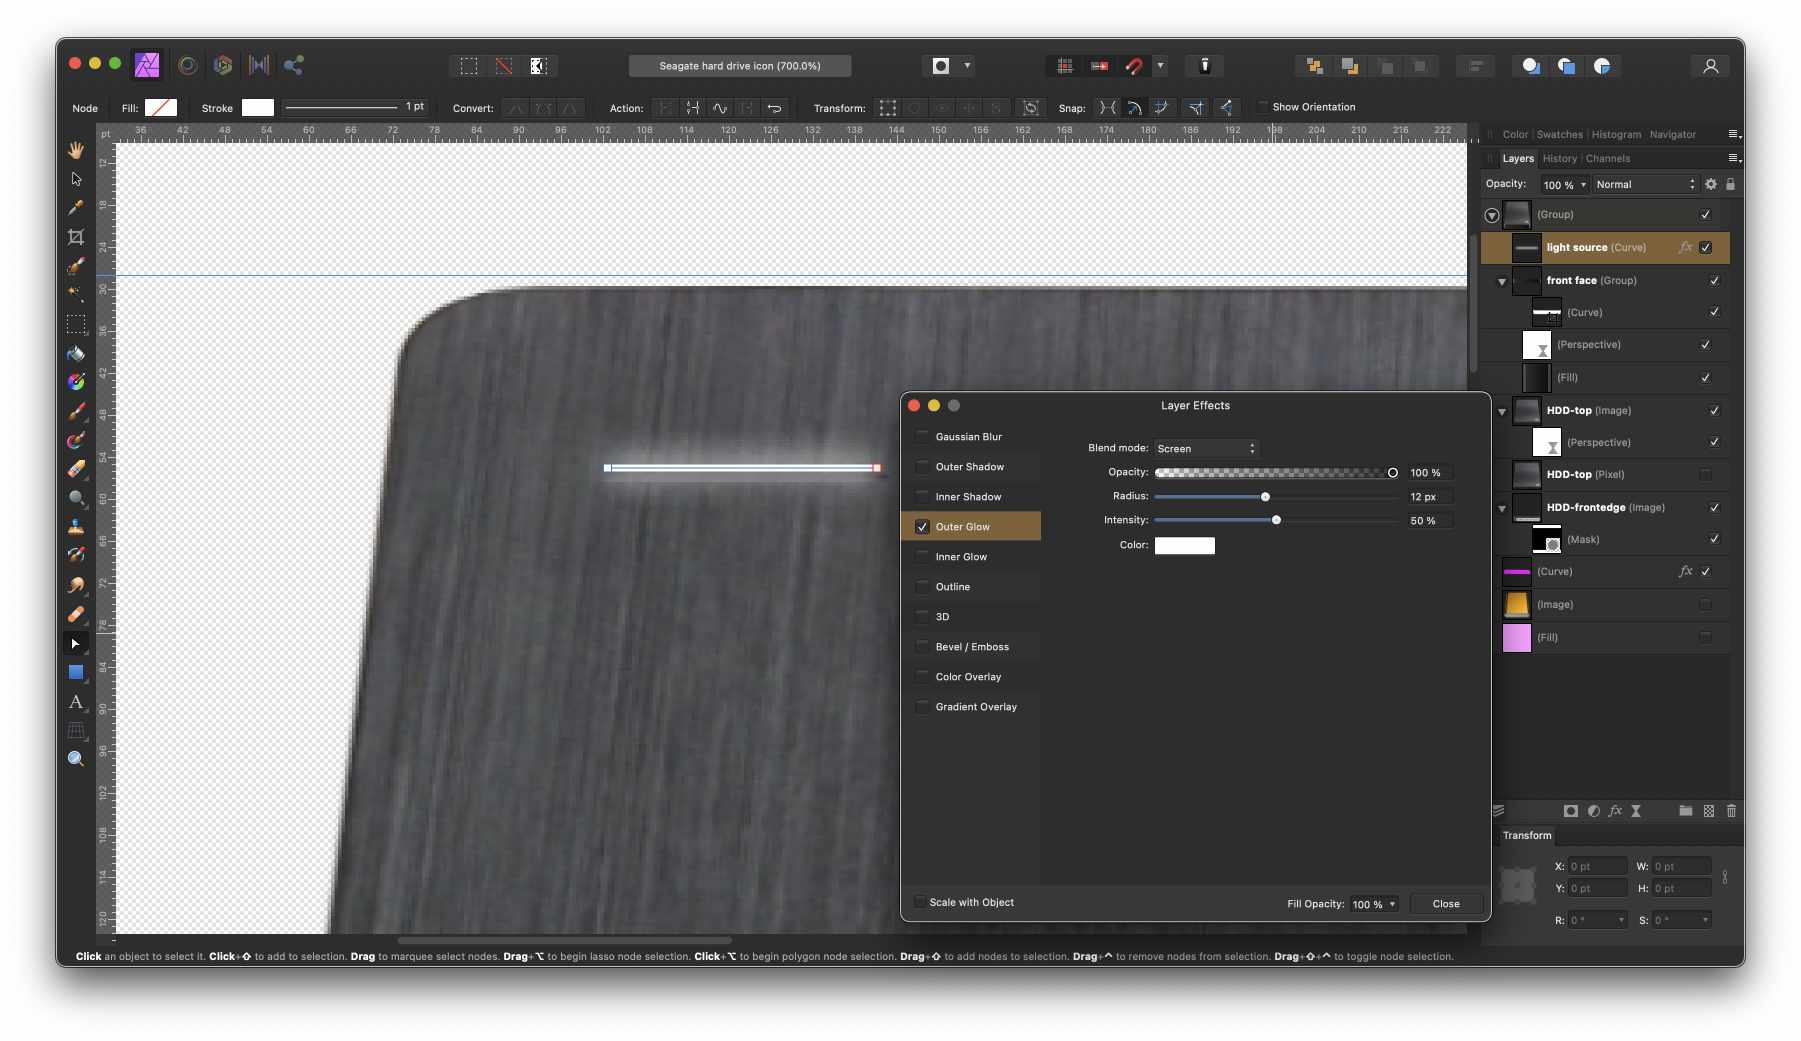
The activity LED is also just a path with a built-in effect. It's a single straight line with a 1-pt white stroke with round caps, and the effect is Outer Glow, with 12 px radius.

From there I just had to export that as a TIFF and convert it to an IconFamily (.icns). This proved trickier than expected, as the tiff2icns tool that comes with Monterey is apparently broken and generates only empty files. I ended up bashing out a quick replacement that reads any image file using CGImageSource and copies all of its images to a CGImageDestination for the IconFamily output. That worked and produced the icon in the disk image above.
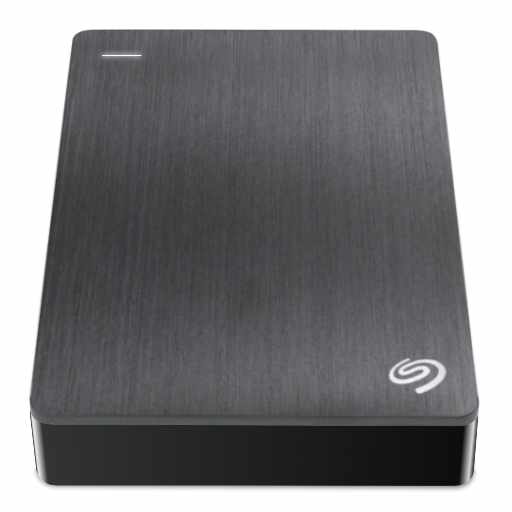
(Don't right-click and save this one. This is a JPEG. Use the download at the top of the page, which will give you a higher-quality version.)
