Introduction
Back in 2003, the standard hard disk in my Power Mac G4 Cube failed—it refused to boot, though I could mount it if I booted from another drive. I replaced it with the aftermarket drive I'd previously used in my G3. I wrote this to document the procedure I used.
Many years later, I replaced that drive with an SSD and a PATA adapter, to achieve a G4 Cube with zero moving parts. (I'm pretty sure I bought the adapter from Amazon, but these days I would recommend getting one of the kits from OWC.) I found my own tutorial very handy in doing that upgrade!
Apologies for the low-resolution photos; they're all from 2003, shot on whatever early digital camera I had at the time, so they're the best I've got.
Some things to know before beginning:
- This procedure worked for me, but I cannot guarantee it will work for you. If you perform it, you do so at your own risk.
- The point of reference is the power switch on the top of the computer.
- You may need to reset the CUDA afterwards.
- You will need T-8 and T-10 screwdrivers. You may also need a tool with which to remove the power connector from the existing hard disk. I used my long tweezers as a lever.
- Added 2003-09-03: The original hard drive has a plastic bumper on one side. You may think this bumper is useless—I did, initially—but it is of great value to the computer, particularly when using a spinning hard drive. The bumper reduces noise and does something to improve cooling. Without it, the new HD showed sign of overheating (namely, panic stops at random intervals) after a few minutes of usage, with the CPU-core thermometer reading about 90 degrees F. With it, the core thermometer went down to 60-70, the drive was barely audible, and overheating went away. So be sure to transfer the bumper from the old HD to the new one.
- Added 2003-09-03: Apple has a KBase article on replacing the Cube's HD. It's good, but it has no photos, is not very detailed, and gets at least one thing wrong (there are no Philips screws in a Cube—they're T-10). It also doesn't mention the motherboard reset.
- Added 2004-11-18: Here's a neat way to hold onto your screws while you work:
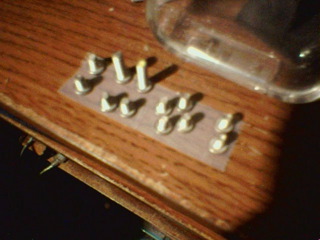
You could also use a magnetic tray. Harbor Freight and Micro Center sell them, and Daiso at least used to.
The Procedure
- Back up everything you can't replace.
- Shut down the computer. Wait an hour or so for the computer to cool down.
- Upend the computer. (If it is not shut down yet, it will perform a panic stop and turn off immediately. You do not want this.)
- Unplug everything except power; you want a ground connection, but nothing else tying you down. (In the photos below, you see EVERYTHING unplugged. Do not make this mistake.)
- Remove the core. You do this by pushing in the handle (where the lock port is) and letting it pop out, then lifting the core out by the same handle.
- Set the core down with the power switch on the top. Apple recommends you set it on a clean, soft, dry cloth. I used a blanket (though this may have been a bad idea for reasons of static).
At this point I should lay out some conventions. The top is the side with the power switch; the bottom is the side with the ports (opposite the top). The back is the side closest to the power switch and ports, between the top and bottom. The front is directly opposite the back. The left and right sides are the sides on your left and right when looking at the front.
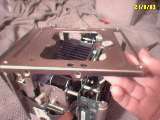
- Remove the corner screws (four) from the top plate. These are T-10.
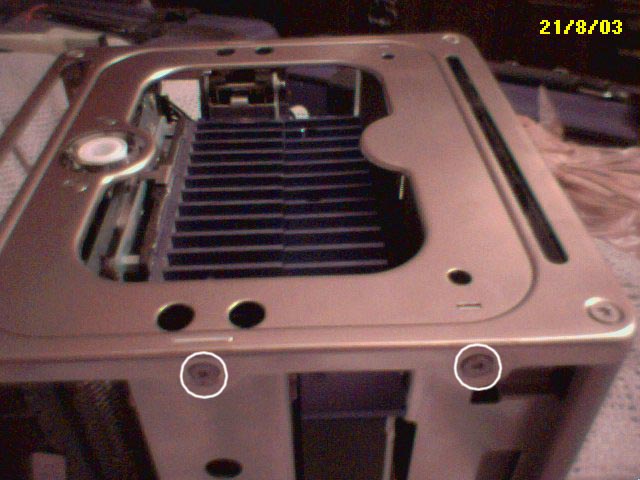
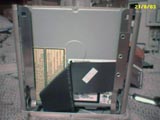
- Remove the side screws (four) from the same plate, on the left and right sides. The middle screws should be about an inch long. All four are T-10.

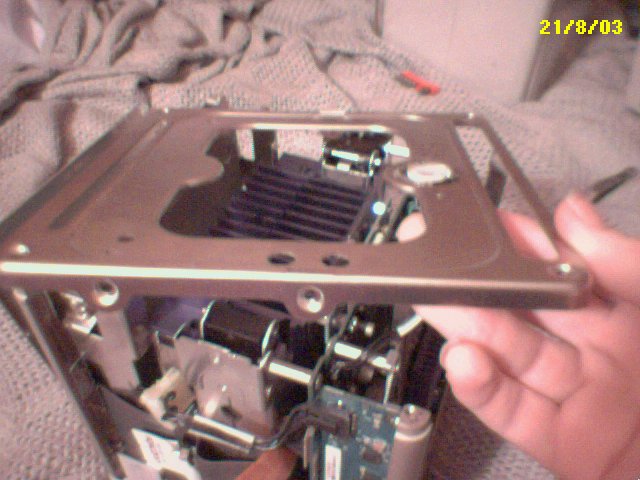
- Remove the top plate.
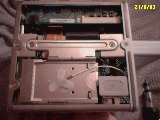
- Remove the front plate by lifting it up and out. (This isn't necessary, but it can be a pain in the neck if you leave it in.) You should see the optical drive behind it.
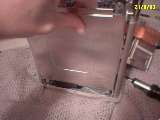
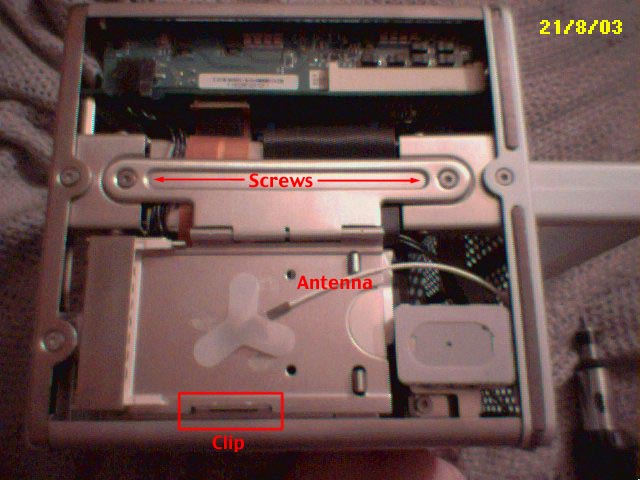
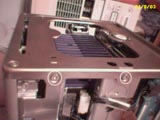
- Remove the AirPort slot on the right side. There is one T-10 screw at each end of the hinge plate. Take these out, then push back the ratchet clip holding the slot itself in place, then just lift the slot out. You can leave the slot dangling by its cable—just be sure to mind its location at all times, since you don't want to set the core down on it.
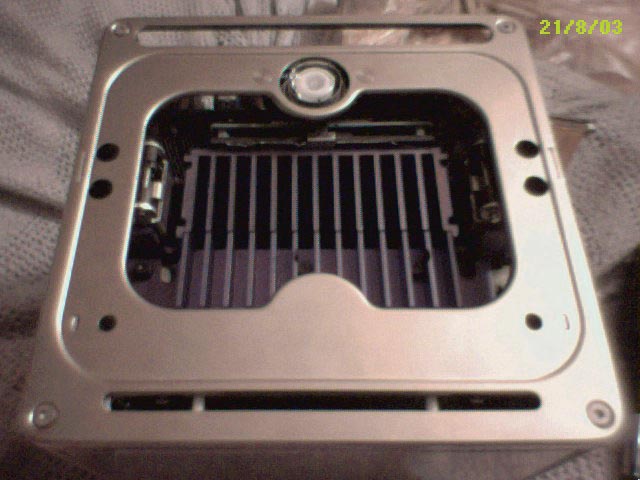
(The full-size version of the first picture has highlighting on it. It doesn't show up in the thumbnail, so I didn't include it in the thumbnail at all.)
Note the antenna cable held to the slot by trefoil tape—this stays in the computer, mostly because it isn't sufficiently annoying to warrant the work of removing it. Just take it out from under the tape. (Obviously, if you have a card in the slot, you should be able to leave the antenna connected to the card.)
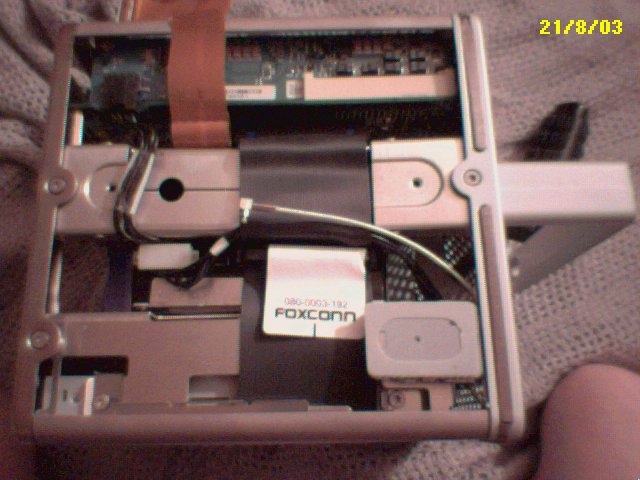
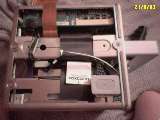
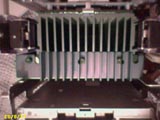
- Past where the AirPort slot used to be, you can see the power and data connectors for the old drive (in the picture above, you can see that the ATA data cable has a “FOXCONN” label on it, and the power cable is immediately to your left of it). Unplug them.
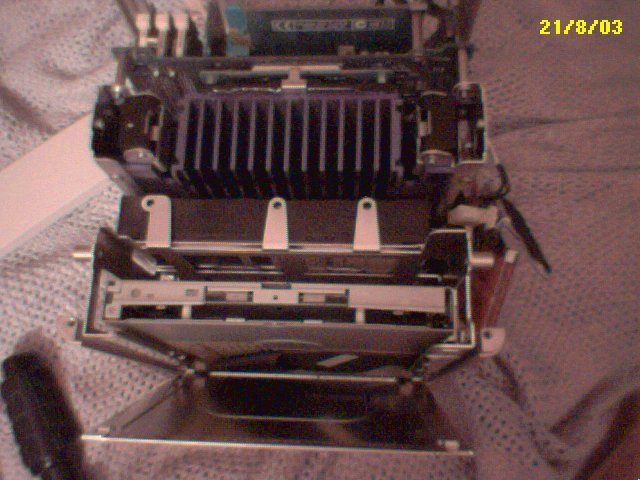
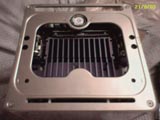
- Remove the forward half of the heat sink. There are three T-8 screws holding it in place; you don't need to remove them all the way (besides, I think they're captive). After the screws are out of the hard disk, lift out the heat sink.
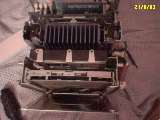
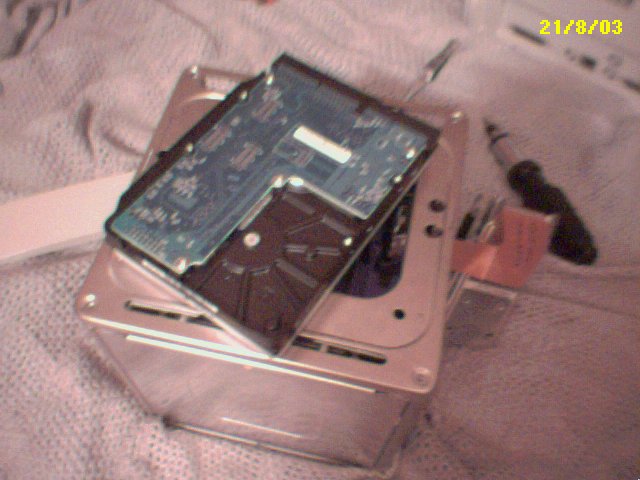
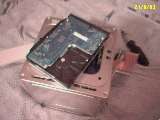
- Remove the old HD.
- Insert the new drive and connect it up.
- Put back the heatsink half and rescrew its screws. Be sure it's aligned correctly; if it isn't, the top plate will not fit into place.
- Put back the AirPort slot and rescrew its screws. Be sure to snap it back into its clip, as well.
- Reset the CUDA. You can find instructions on this Apple KBase article that describes the G4 Cube CUDA-reset procedure.
- Put back the top plate. This is more difficult than it sounds; in order for all eight screws to align properly, you need the clips on the left and right sides to fit through the matching hole. (The computer will probably still work if they don't, but it's always good to do things right.) The clip holes (they aren't really clips, but I can't think of a better word) are on each side of the top plate, just outside of the two holes. On the side shots of the top plate above, you can see the clip between the middle screw and the two holes.
Incidentally, I used the old hard drive to weigh down the top plate as I put back its screws.
- Put the core back into the case. Make sure the power button is aligned to the window at the top of the case.
- Plug everything back in.
- Put the computer back right-side-up.
- Boot the computer and perform any needed installations.