Review: Raspberry Pi 3 Model A+
TL;DR: It’s $25 (not including case); it’s good; you should get one and set up Pi-Hole on it.
Quick history recap:
When the first Raspberry Pi was introduced, it came in models A and B. Initially, the only differences were Ethernet (the B had it; the A didn’t), USB (the B had two USB ports; the A had only one), and RAM (the A had half as much).
Later, they introduced the B+, with more GPIO (general-purpose input/output) pins.
Then they introduced the A+, with all the guts of the Model A, and the larger GPIO pinout—but on a smaller board, over 20 mm shorter on the board’s longer dimension. (The A+ is still not quite square, but it’s a lot closer.)
Both of the original A models, however, suffered a big drawback over the B and B+: No networking.
On a B or B+ board, you could plug in hard Ethernet, or use your other USB port to plug in a Wi-Fi dongle. No contention with your USB keyboard and mouse (or Bluetooth dongle). On an A or A+ board, with no Ethernet and only one USB port, you had to choose between your input devices and a network connection—or else add an external USB hub, at which point you might as well just get a B+ in the first place.
The second generation skipped having any sort of Model A entirely. There was only the Model B.
The third generation was the first to have built-in Wi-Fi and Bluetooth. Like the second generation, it debuted as only a Model B, which supported only 2 GHz Wi-Fi (no 5 GHz). Two years later, that was succeeded by the third-generation B+, now supporting 5 GHz Wi-Fi.
The B+ was followed a few months later by the return of the Model A+.
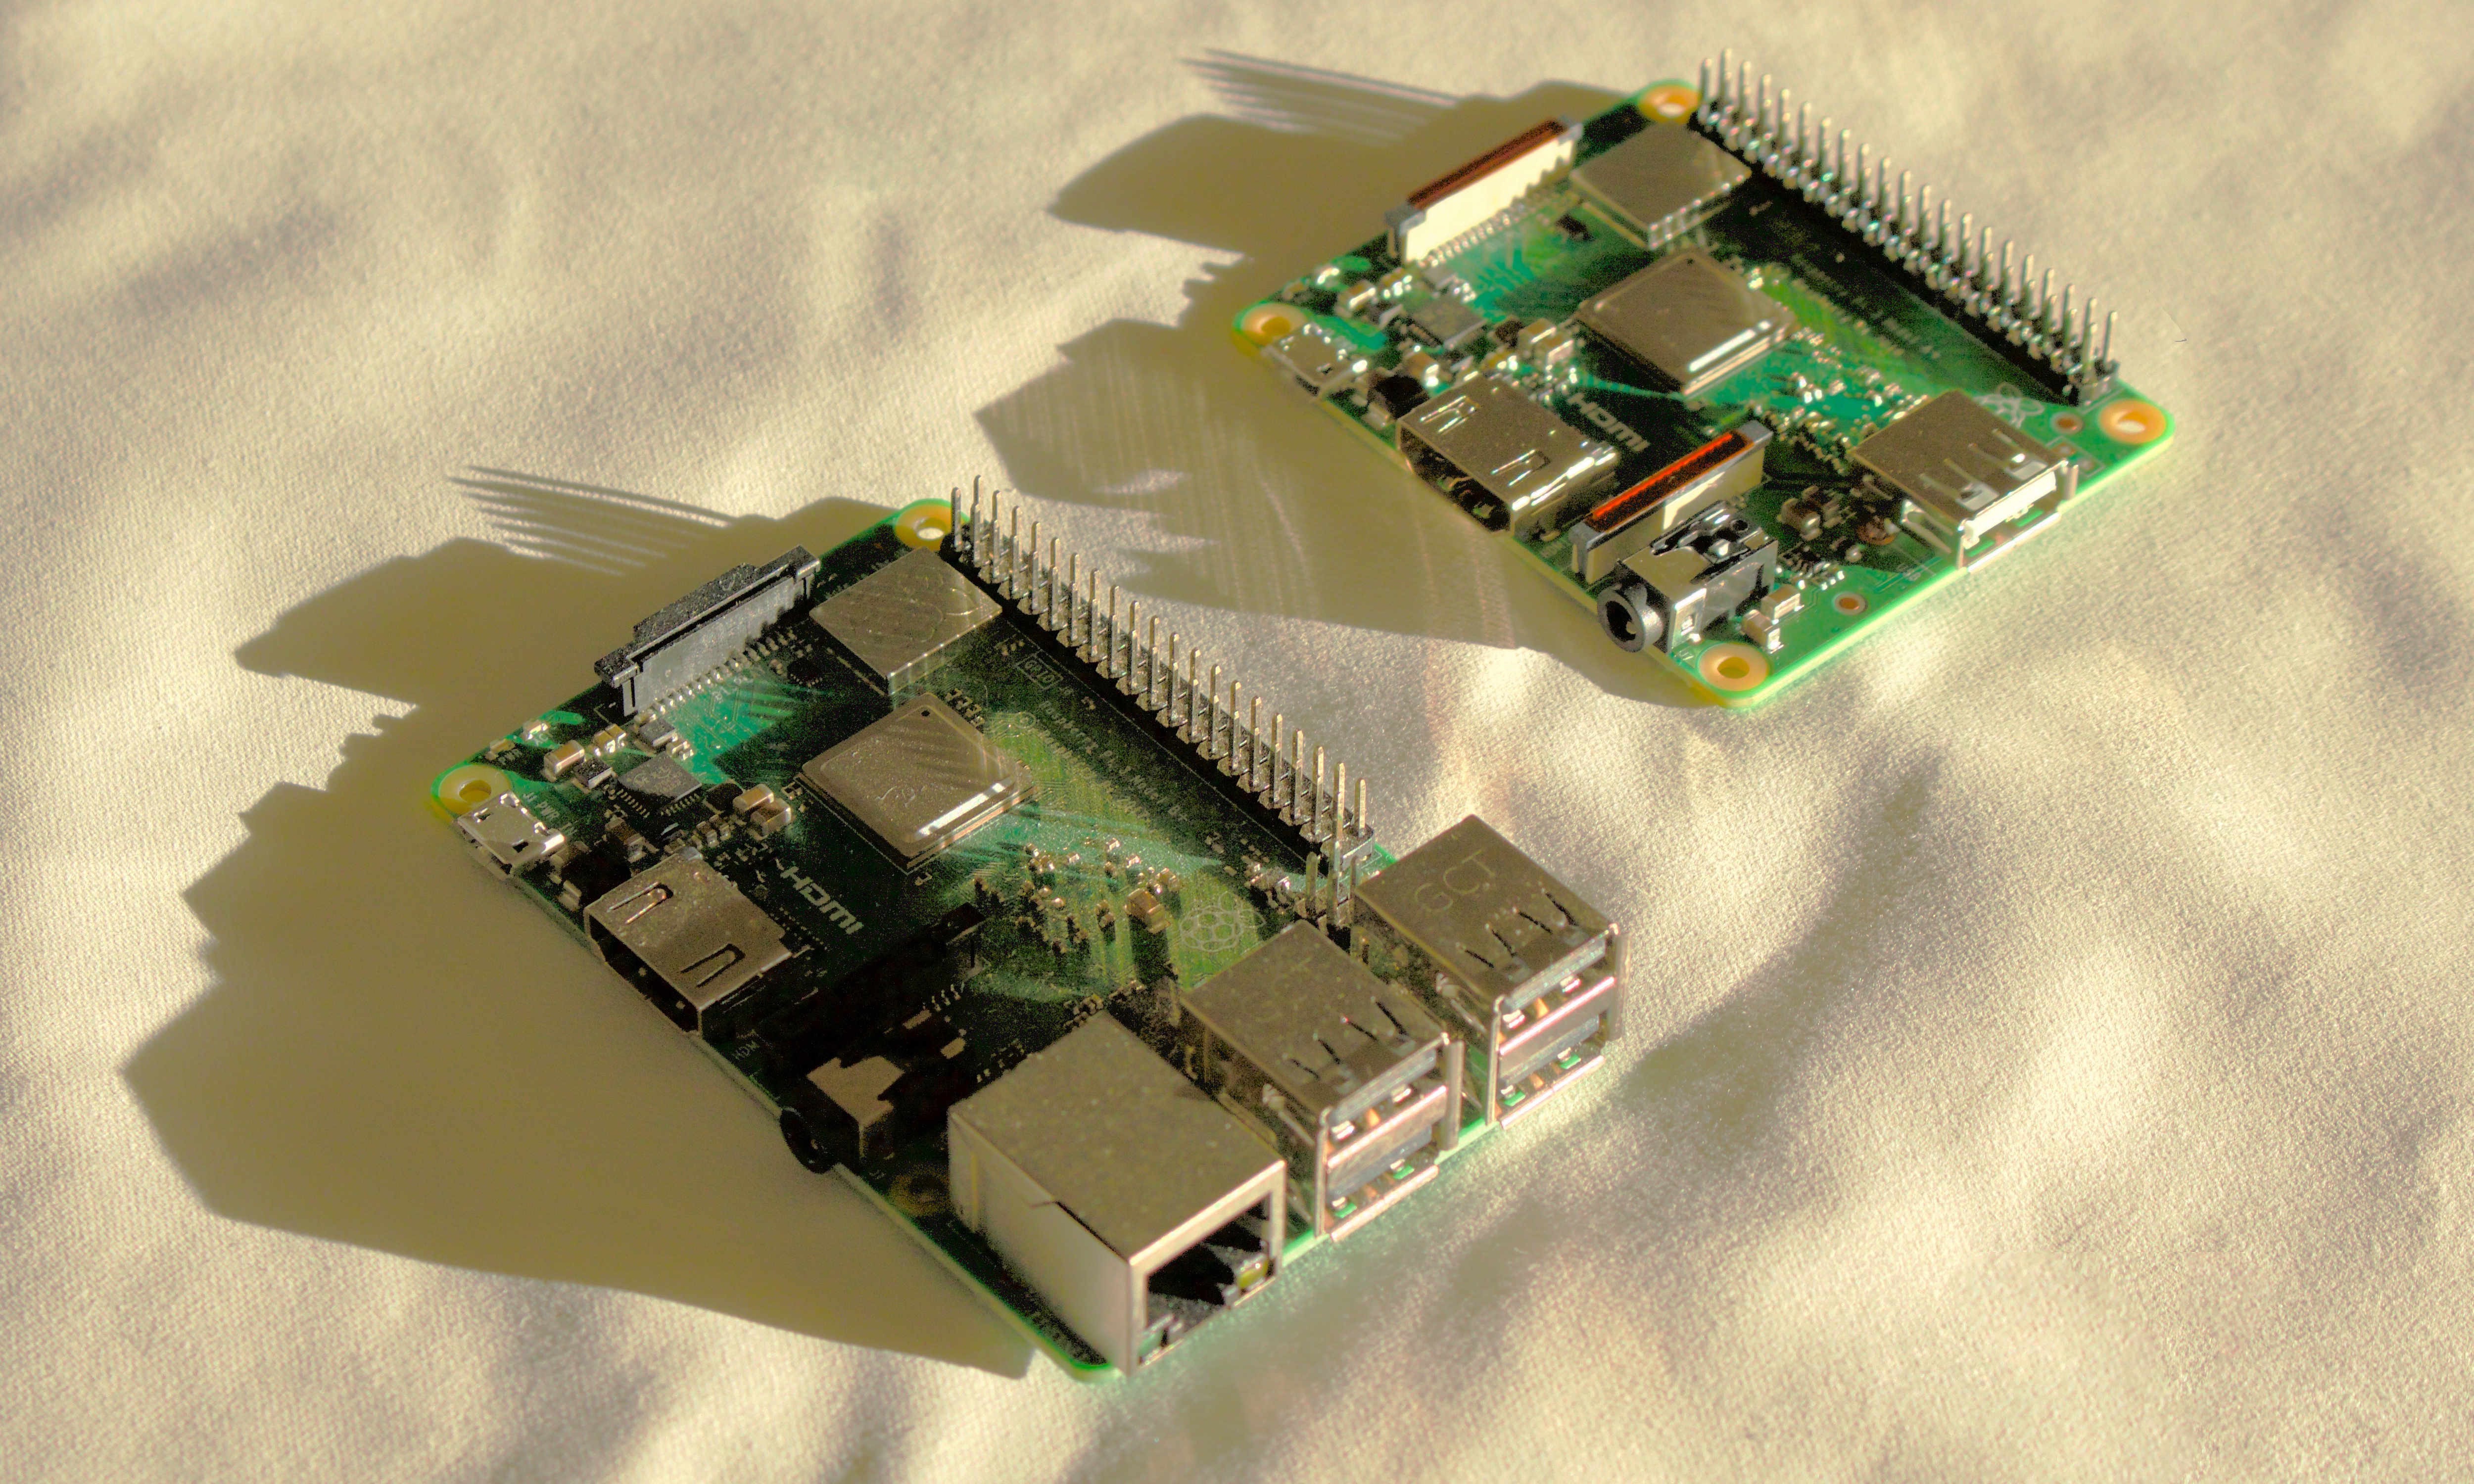
The Pi 3 Model A+, like the original A+, has half the RAM of its bigger sibling, only one USB port, and no hard Ethernet. But, it has the Bluetooth and dual-band Wi-Fi support of the third-gen B+.
Previously, you basically needed a B+ to do anything networked, including software updates, without having to add an external USB hub. Now, an A+ alone is perfectly sufficient for most Raspberry Pi applications, especially those that treat the Pi as a server.
My Model A+ is my Pi-Hole.
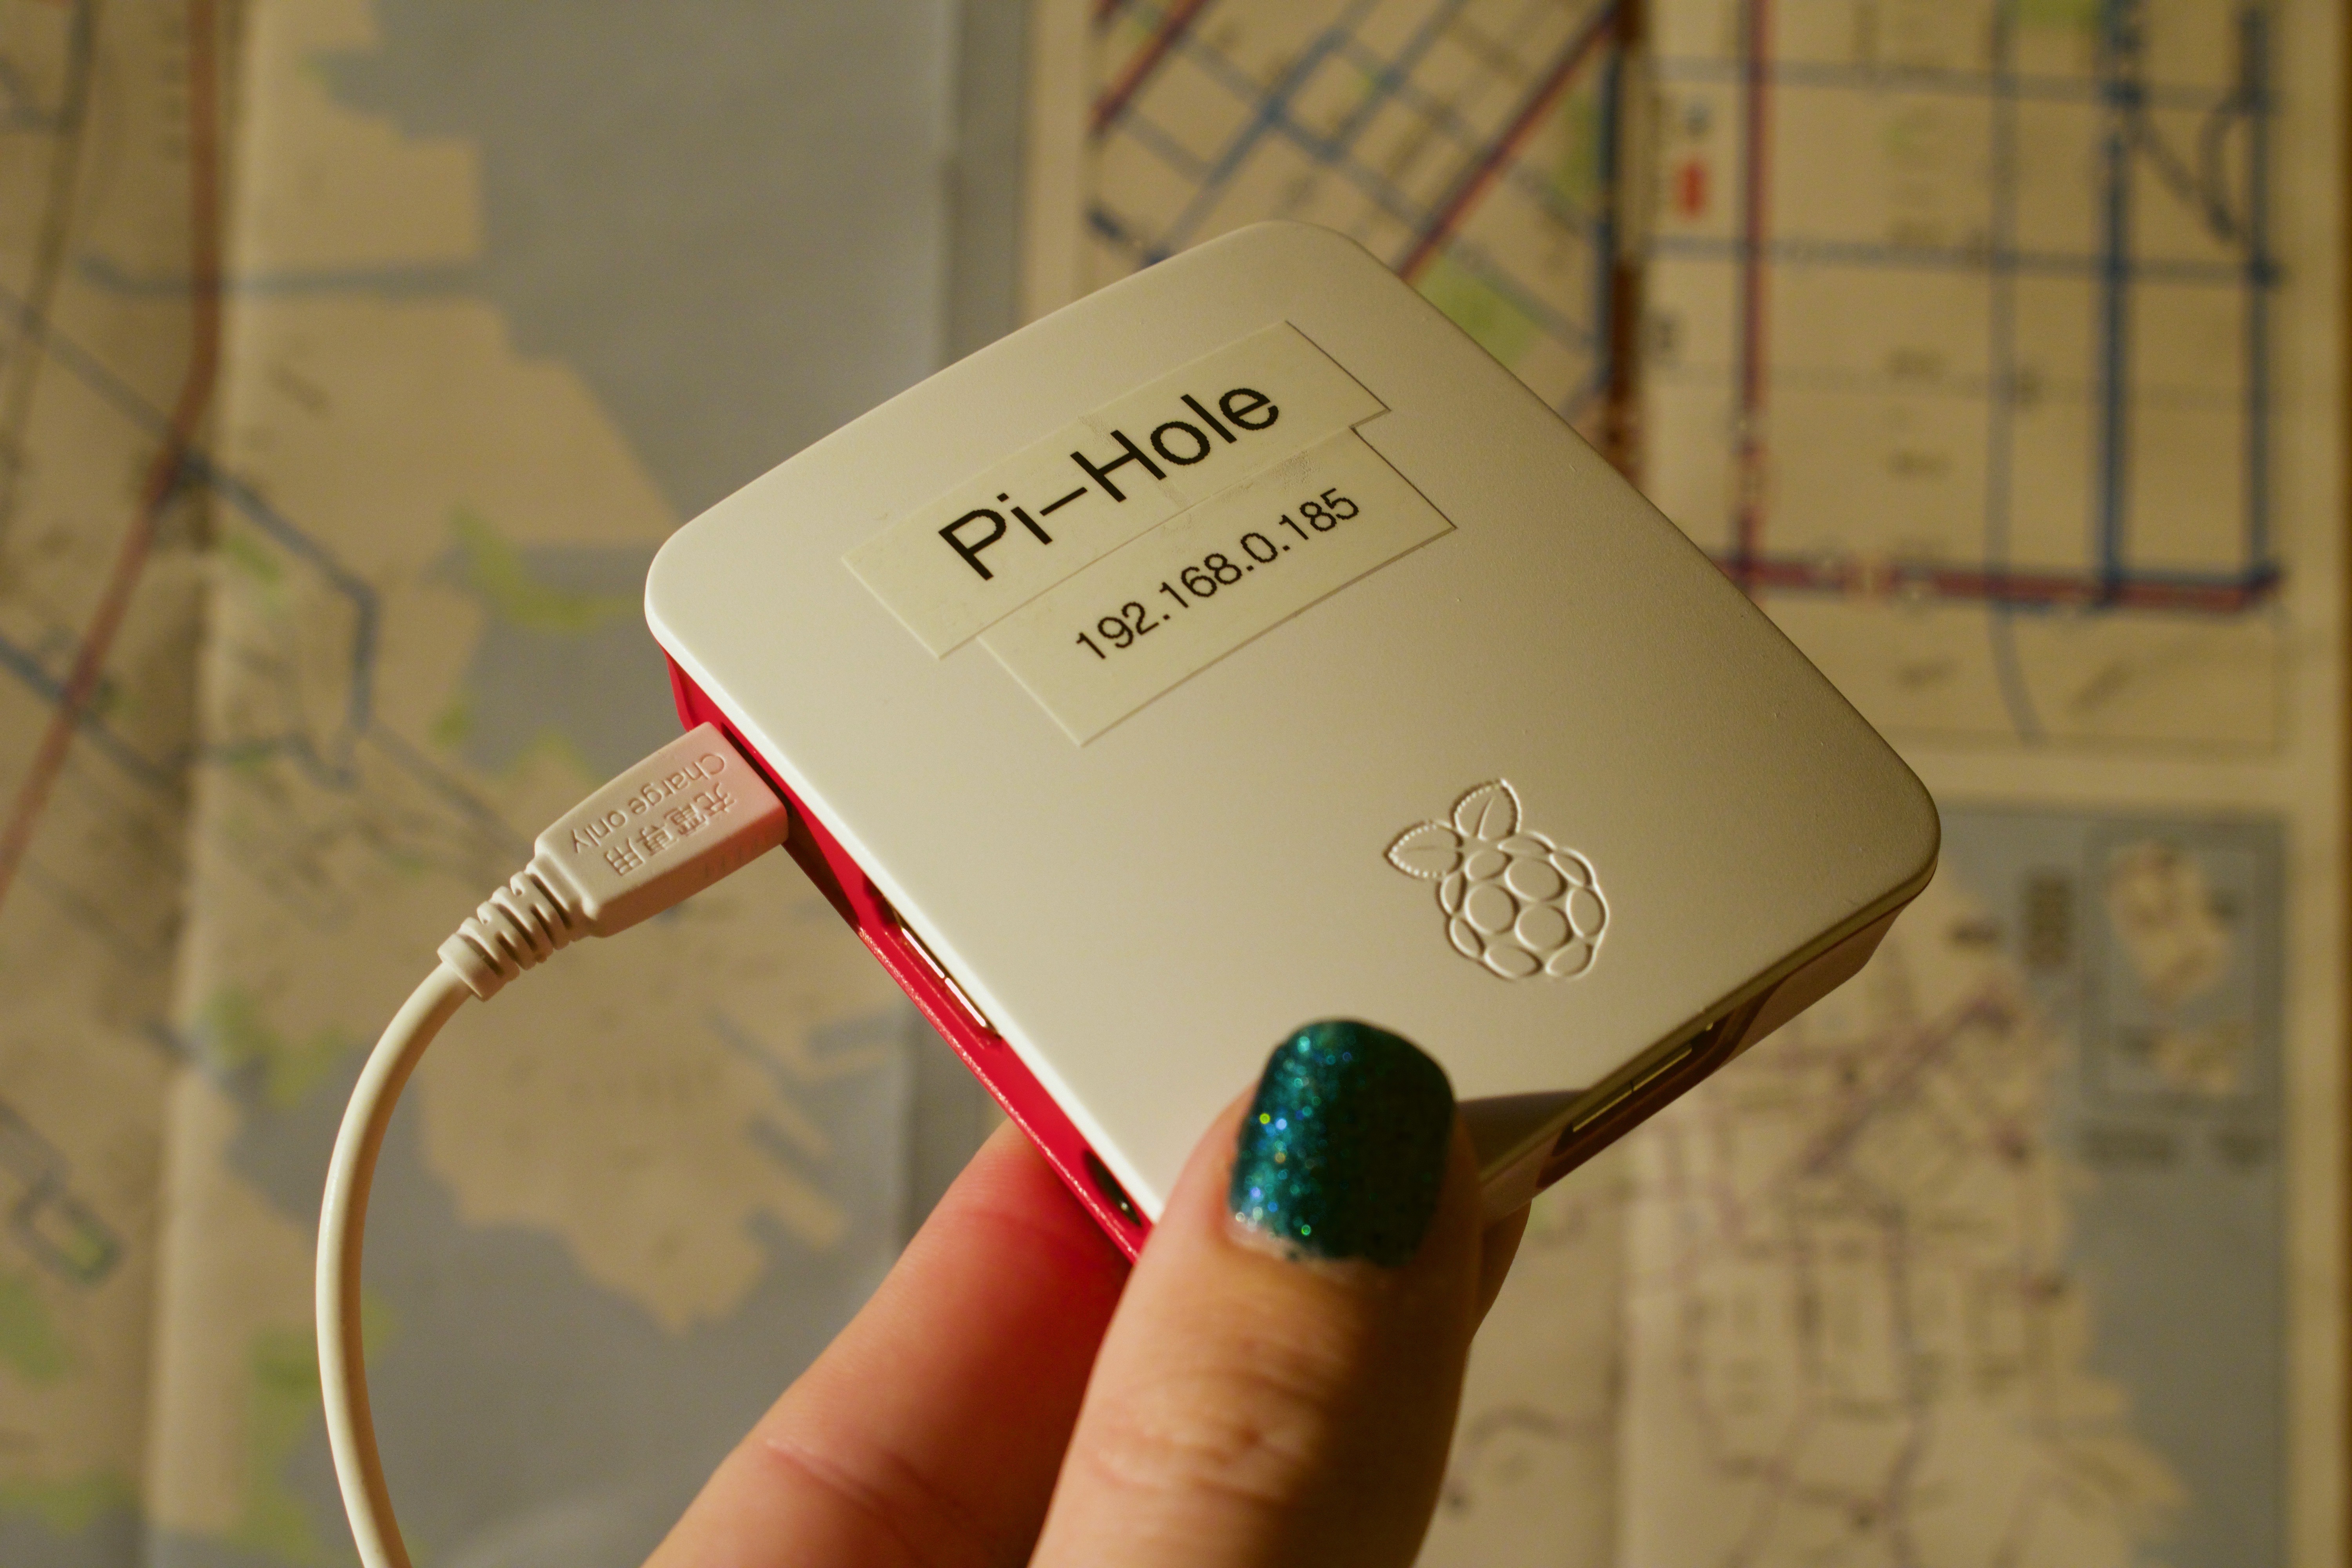
Bonus question: Why did I choose 185?
Pi-Hole is a DNS-based content blocker. You set it as your router’s DNS server, and point the Pi-Hole at your real (ISP) DNS server, and the Pi-Hole will filter all DNS requests from clients on your network, screening out requests to advertising and tracking servers.
It’s similar to a variety of hosts files (I’ve used the WinHelp2002 hosts file for years) that route the known names of such servers to the null address, but unlike setting up a hosts file (which has to be done per machine), the Pi-Hole benefits every device on your network, including mobile phones and tablets.
Pi-Hole is open-source software. You install it on your Raspbian card by running a shell script on the Pi. The setup process is relatively painless and can be done in textmode (I used the Lite version of Raspbian, which omits the GUI; it’s textmode-only).
You do need a sufficiently advanced router to be able to set the router’s DNS IP addresses (if your router came from your ISP, it may be locked down to not provide this option), as well as to assign a fixed IP address to a particular MAC address (that of your Pi).
The default configuration of Pi-Hole maintains a local log and database of requests, both for your own perusal and for the software’s own cache. You can turn this off, and I did, but (as Bill Bumgarner suggested) you should also get a high-endurance microSD card, so that it’ll take longer for any logging—including the system’s—to wear out the card. You can get the smallest capacity available; Pi-Hole doesn’t take up much space.
The Raspberry Pi 3 Model A+ is the perfect Pi-Hole machine, and also likely to be a good option for many other Raspberry Pi applications. It’s $25, which is $10 cheaper than the B+. You should probably also get a case, such as the official one, to keep the dust off your board.
Shopping list
Here’s what you’ll need to run a Raspberry Pi 3 Model A+:
- Raspberry Pi 3 Model A+ (also available at Micro Center, though not online)
- Raspberry Pi 3 Model A+ case (also available at Micro Center)
- A USB micro-B cable (like this one, though I use one from Daiso) and a USB charger dishing up 5W or more (like this one)
- A microSD card, preferably a high-endurance variety (like this one)
- Raspbian; the Lite (no GUI) version will do
- A USB keyboard (like this one)
- You’ll also need a mouse, trackball, or trackpad if you use a GUI version of Raspbian. The keyboard I linked to is a combination keyboard and trackpad, so it covers both needs.
- A monitor, TV, or projector that can receive HDMI input, and an HDMI cable (full-size HDMI, not mini or micro)
Pi-Hole specific notes
If you’re setting up your Pi as a Pi-Hole, you’ll only need the keyboard and monitor for setup. You shouldn’t need to interact with the Pi again once it’s set up and working.
You should also dig up (or download if possible) your Wi-Fi router’s manual, and the IP address and admin credentials you’ll need to use to administer it. If your router doesn’t let you change DNS servers, you may need a newer/fancier one, like this one.
I assign my Pi its static IP address on the router (by setting the router to always assign that IP address to my Pi’s MAC address). My router has this under its DHCP settings as “Address Reservation”. Your router may call this something different, or it may not have this feature; the Pi can also be configured to request a static IP address, though I have not tried these steps.
UPDATE 2020-01-03: Added the shopping list and Pi-Hole set-up notes.